You installed the ramp. You bought a shower chair. You moved furniture to open up the walkways. And then the wheelchair arrived – and the bathroom doorway was two inches too narrow to get through.
That gap between looking accessible and actually working is where most caregivers get stuck. Not from lack of effort – from lack of specific information about which modifications actually determine whether wheelchair living is functional.
This article walks through the seven modifications that make the real difference. Think of it as a prioritized punch list, not a renovation project. Start with the highest-friction points, build from there, and every change you make gives back a piece of independence.
Wheelchair Home Accessibility Checklist: 7 Areas That Actually Matter
Download this room-by-room checklist to identify exactly which wheelchair accessibility changes will give you the most independence back—so you know what to measure, fix, and add first.
Modification #1: Doorways and Turning Radius – The Foundation Everything Else Depends On
A home that can’t be navigated independently inside defeats its own purpose. Doorway width is where wheelchair accessibility either opens up or shuts down.
What the Numbers Actually Mean
- Standard interior doors run 28-30 inches wide – just short of usable for most wheelchairs
- ADA home modification guidelines recommend a minimum 32-inch clear opening; 36 inches allows comfortable navigation
- A standard manual wheelchair needs approximately 60 inches of turning radius; power chairs often need more
What You Can Do Without a Contractor
Offset hinges – sometimes called swing-clear hinges – add up to 2 inches of clearance without touching the door frame. Installation takes under an hour and costs less than $20 per door.
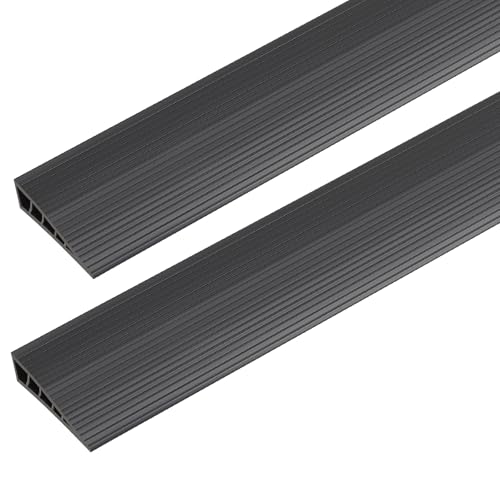
Pocket doors and barn-style sliding doors are low-disruption alternatives when a doorway genuinely needs to be wider.
Start here: Measure every doorway with a tape measure before spending money anywhere else. You may find that two hardware changes unlock the entire floor plan.

Modification #2: Bathroom Modifications – Where Wheelchair Accessibility Is Won or Lost
The bathroom is the highest-stakes room in the house. If it doesn’t work, nothing else matters.
The Highest-Impact Changes
Roll-in showers eliminate the transfer step entirely and are the gold standard for wheelchair bathroom access. If a full renovation isn’t possible yet, a fold-down shower bench supports partial weight-bearing users during bathing without requiring a complete overhaul.
Grab bars positioned at transfer height – not decoratively placed near the ceiling – make the difference between safe and unsafe toilet and shower use. ADA home modification guidelines specify placement ranges that are worth following precisely here.


Raised toilet seats for wheelchair transfer are one of the two highest-return starting points for bathroom accessibility. The physical difficulty of transfers drops significantly with a comfort-height toilet or a quality riser.


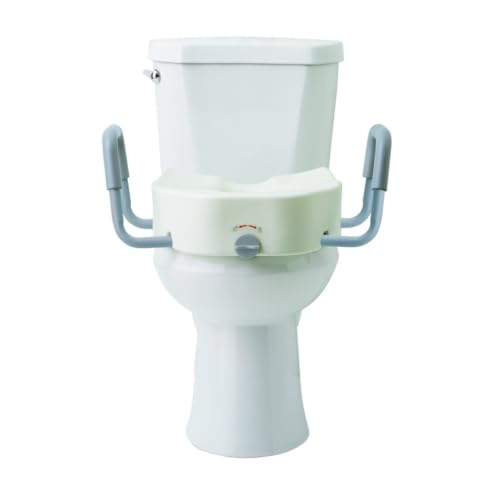

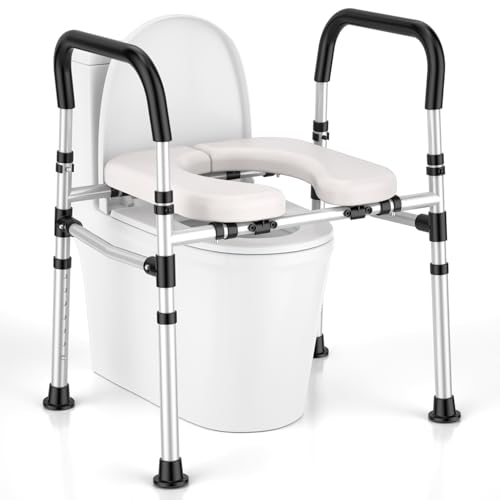

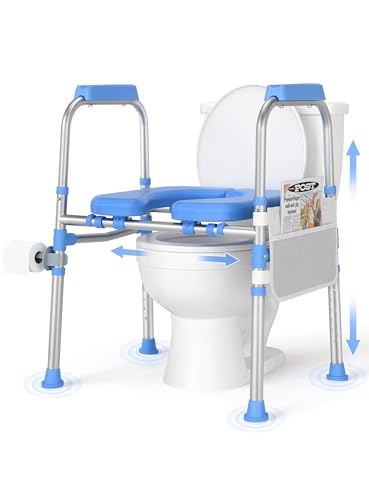
Grab bars for wheelchair users are the other essential. When installed at the correct height alongside the toilet and inside the shower, they allow independent transfers that would otherwise require caregiver assistance.


Flooring Inside the Bathroom
- Shower floors should be slip-resistant
- Transitions between flooring types should be flush or gently ramped – no raised thresholds
The key insight: Many bathroom modifications are genuinely DIY-friendly. A raised toilet seat and correctly placed grab bars can be installed without a contractor and transform daily function immediately. Bathroom safety modifications for fall prevention cover a lot of the same territory and are worth reviewing alongside wheelchair-specific needs.
Action point: Identify the two or three highest-impact bathroom changes before considering larger renovations. The riser and grab bars almost always come first.

Modification #3: Flooring Transitions and Threshold Ramps – Clearing the Path Through the Home
Flooring transitions that seem minor to walking adults become genuine barriers for wheelchair users.
Want practical, tested advice like this delivered to your inbox? Subscribe to the Graying With Grace newsletter for expert guidance on home safety, mobility, and caregiving – written for real families doing real work.
What Creates the Problem
- Thick carpet creates significant rolling resistance and fatigue throughout the day
- Door thresholds even a half-inch tall can catch a wheelchair’s front casters and cause tipping
- Area rugs are both a tipping hazard and a rolling barrier – remove them or secure them completely flat
- Transitions between rooms where flooring material changes should be flush or gently beveled
The Low-Cost Fix
Threshold ramps for home – sometimes called transition ramps or threshold plates – bridge these gaps affordably and without permanent modification. A quality threshold ramp costs $15-40 and requires no tools to install.


You don’t need to replace all the flooring. Targeted threshold ramps and rug removal cost almost nothing and immediately expand independent mobility through the entire home.
Action point: Crouch down to wheelchair height and walk through every room. You’ll see exactly which transitions require effort or assistance – and which ones a $20 ramp would solve today.
This same floor-level perspective is useful for identifying hidden fall hazards that affect both wheelchair users and ambulatory older adults.

Modification #4: Kitchen and Living Space Adjustments – Making the Home Livable, Not Just Accessible
True wheelchair accessibility means the person can participate in daily life – cooking, reaching, storing – not just move from room to room.
The Reachability Problem
- Standard counter heights sit at 36 inches – too high for comfortable seated use
- A section of lowered counter at 28-34 inches makes kitchen participation genuinely possible
- Under-counter clearance of at least 27 inches allows wheelchair approach and seated work
- Frequently used items should live between 15-48 inches from the floor
What Doesn’t Require a Contractor
- Door hardware upgrades: Replace round knobs with lever-style handles throughout the home. This applies to every interior door and cabinet. It’s inexpensive, takes minutes per door, and improves usability in every room
- Cabinet reorganization: Move frequently used items to reachable shelves – this costs nothing
- Lazy Susans and pull-out cabinet shelves: Extend reach without structural changes
The goal: One area of the kitchen where the wheelchair user can participate independently. Identify that spot first and make it the first targeted adjustment.
Preserving the ability to participate in daily activities like meal preparation is directly connected to the psychological benefits of aging in place – autonomy and independence matter far beyond the physical.

Modifications #5 Through #7: Smart Home Devices and Final Touches – Technology That Does What Renovation Can’t
Smart home devices solve accessibility problems that physical modifications can’t address. They’re often the fastest, least disruptive, and most empowering changes you can make.
The Three Highest-Impact Smart Devices
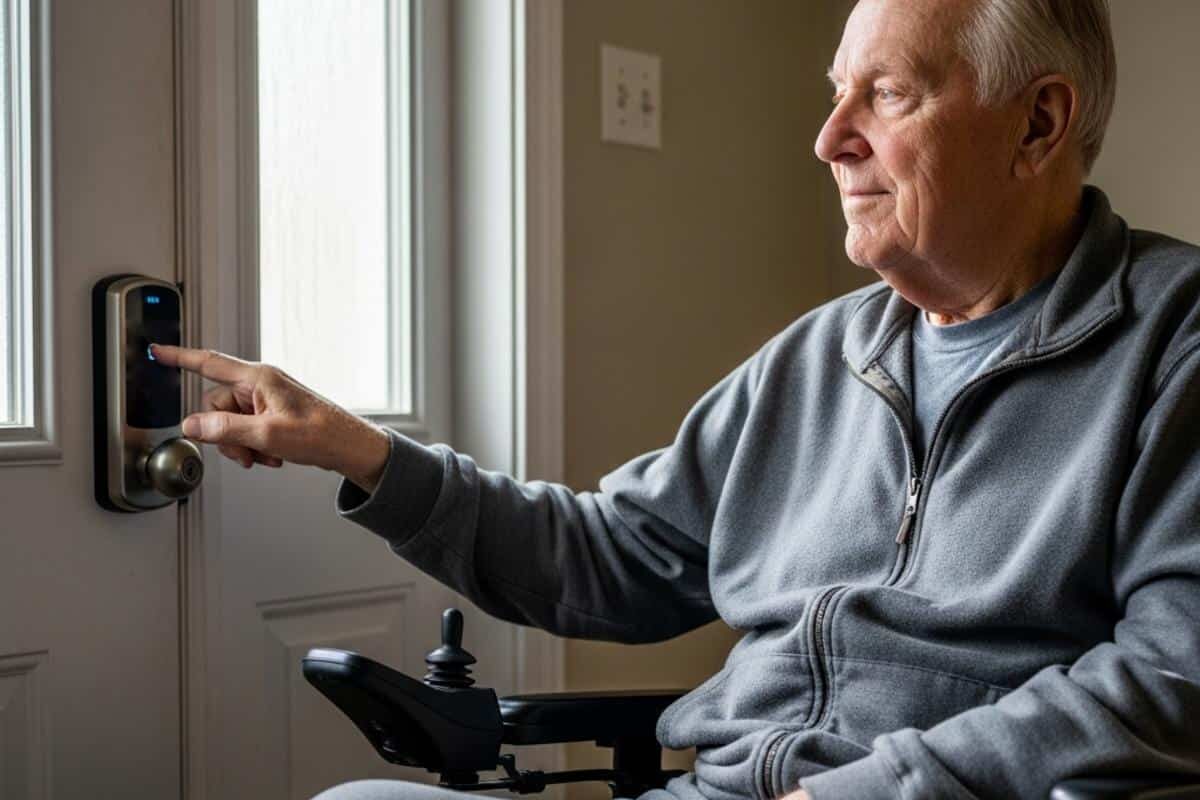
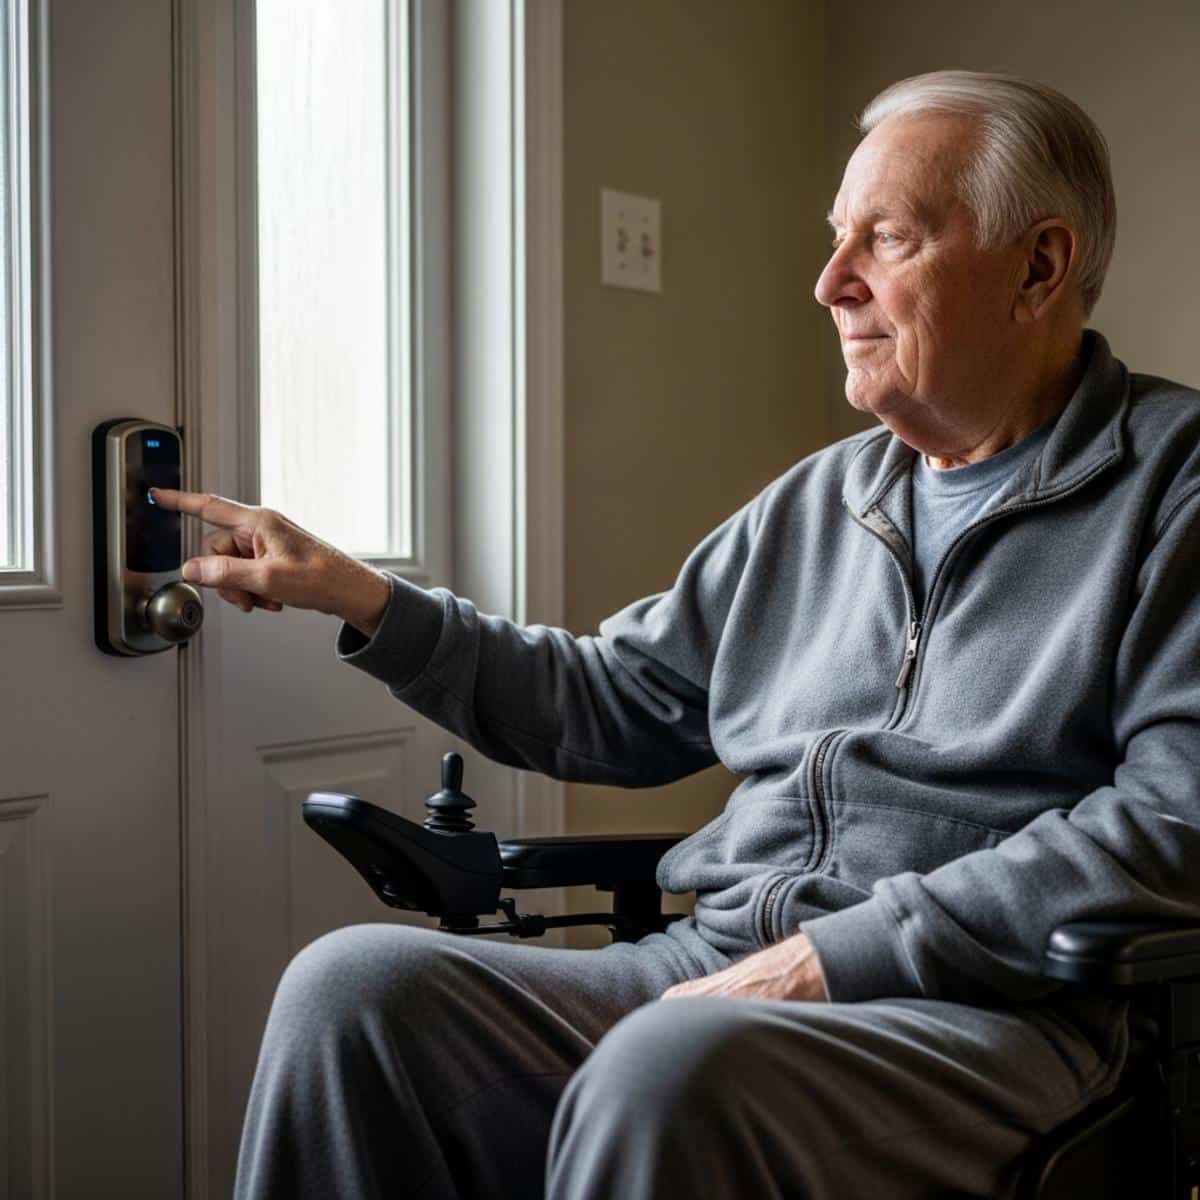
Smart locks with keypad or app control eliminate the need to manipulate a key – transformative for limited hand dexterity. No fumbling, no asking for help, no dependence on someone else being nearby.
Smart lighting with voice control or motion activation removes the need to locate and operate switches from a wheelchair. One voice command handles what used to require navigating to a wall switch.
Video doorbells allow a wheelchair user to screen visitors without traveling to the door – a simple change that restores control over who enters the home.
Two More Worth Adding
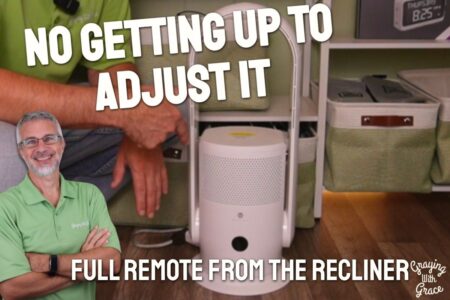
- Smart thermostats allow environmental control by voice, reducing dependence on caregivers for basic comfort
- Smart plug-in outlets put any lamp or appliance under voice command without wiring changes
All five of these layer on top of physical modifications without requiring structural changes. Setup for most takes an afternoon.
The independence gain is immediate. A wheelchair user who manages the lock, the lights, the thermostat, and the doorbell independently has a fundamentally different experience of their home than one who must ask for help with all four.


For families navigating how to support independence without taking over, the conversation around preserving dignity in caregiving offers important framing that applies directly here.
Wheelchair Home Accessibility Checklist: 7 Areas That Actually Matter
Download this room-by-room checklist to identify exactly which wheelchair accessibility changes will give you the most independence back—so you know what to measure, fix, and add first.
Building the Plan: Start Before You Spend
A truly wheelchair accessible home isn’t about checking visual boxes. It’s about whether the person living there can move, function, and participate – independently, with dignity, without needing to ask for help every hour.
The seven modifications above represent the real difference between a home that looks accessible and one that actually works:
- Doorways and turning radius – measure first, spend second
- Bathroom modifications – raised toilet seat and grab bars before anything else
- Flooring transitions – threshold ramps eliminate hidden barriers at almost no cost
- Kitchen and living space reachability – lever hardware and cabinet reorganization restore participation
- Smart locks – independence at the door
- Smart lighting – independence throughout the home
- Video doorbells and environmental controls – independence at a whole-home level
This doesn’t have to happen all at once. Start with the highest-friction points – the bathroom, the doorways, the thresholds – and build from there.
For families also thinking about the broader home safety picture for older adults, the connection between a functional, safe environment and long-term cognitive and physical wellbeing is well-documented and worth understanding.
This week: Walk through the home with a tape measure and a notepad. Identify the three biggest barriers. That list is your starting point.
What did you find? Share it in the comments – or ask about a specific modification you’re working through. What you’re navigating right now might be exactly what another caregiver needs to hear.
![Keep adult child parent caring conversation couch[1]](https://www.grayingwithgrace.com/wp-content/uploads/2026/05/keep-adult_child_parent_caring_conversation_couch1-e1778617175987-450x300.jpg)
