You pull into your mom’s driveway after a four-hour drive. Overnight bag in the back seat. Two days ahead of you.
You want to enjoy this visit — really enjoy it — but somewhere between the highway and her front door, that familiar mental list started running again.
The drain that was slow last time.
The smoke alarm you meant to check. The dryer she mentioned “takes two cycles now.” You don’t know where to start, so you end up starting nowhere. The visit passes. You drive home. And the list follows you.
Here’s what I want you to know: that feeling isn’t negligence. It’s love with no clear outlet.
A focused, structured walkthrough of your parent’s home doesn’t compete with connection — it is connection. It says: I see your home. I take your safety seriously. And I’ve got this.
The slow-building problems — not sudden disasters — are what quietly make a home less safe over time. And most of them are easy to catch and fix with the right home maintenance checklist for aging parent visits like the one I’m laying out here.
In a two-day visit, you can cover a lot of ground if you know where to look. Let’s start.
The Twice-a-Year Visit Checklist: A Room-by-Room Home Safety Walkthrough for Your Aging Parent’s House
Download this free room-by-room home safety checklist and identify hidden fall risks, fire hazards, and maintenance problems in your aging parent’s house—everything you need to fix in one practical, printable guide.
Start with Water — Slow Drains Are the First Warning Sign


Why Slow Drains Deserve Your First 20 Minutes
A slow drain feels minor. In your parent’s home, it isn’t. Standing water in a tub or shower significantly increases fall risk — and older plumbing in older homes is particularly prone to hair, soap, and mineral buildup that accumulates quietly over months.
The difference between a slow drain and a serious plumbing problem is usually visible: a slow drain responds to basic clearing; a drain that gurgles, backs up into other fixtures, or smells like sewage needs a licensed plumber.
How to Check Every Drain on Arrival
Walk the house and run each of these:
- Kitchen sink — run hot water for 30 seconds and watch the drain rate
- Bathroom sink — same test
- Tub and shower — these are your highest priority; standing water here is a direct fall hazard
If a drain is slow, don’t dismiss it as “probably fine.” That’s the one that’s been quietly getting worse for six months.
The DIY Fix That Takes Less Than an Hour
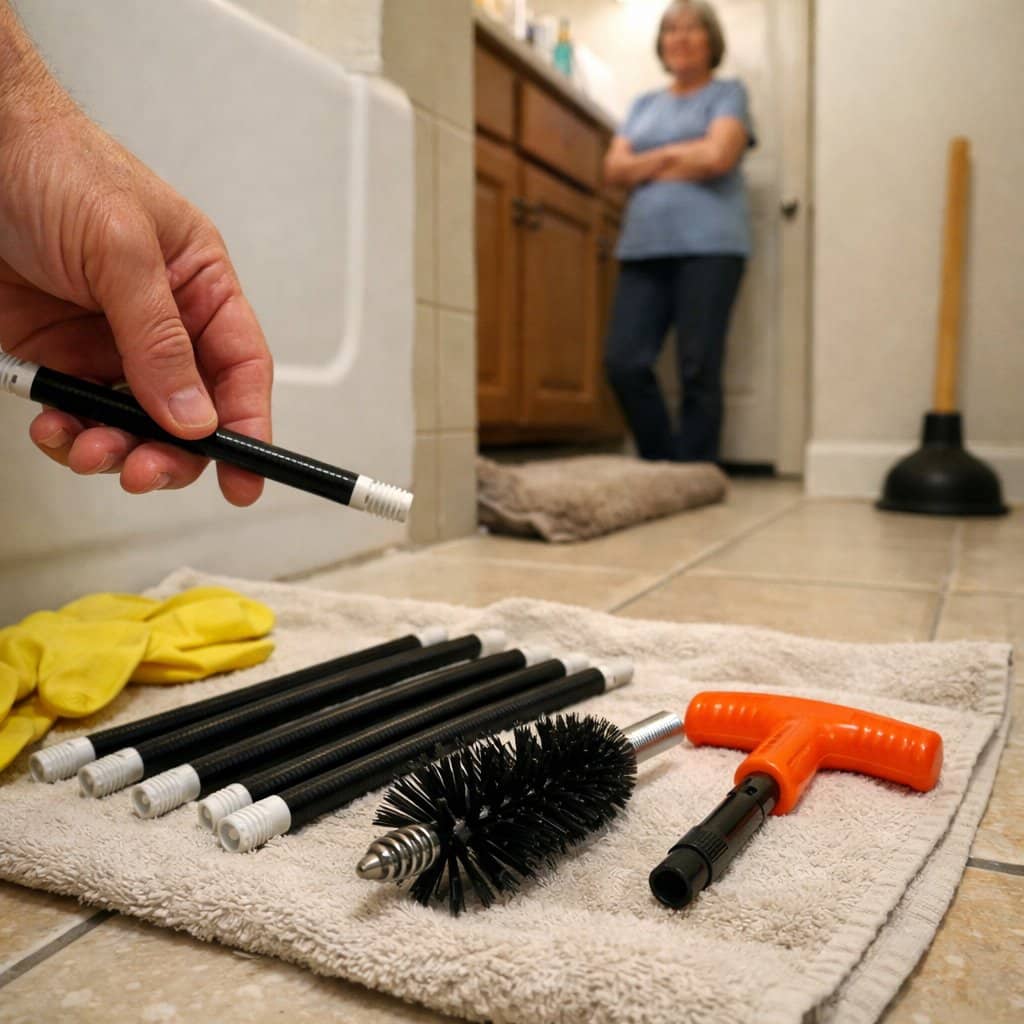
For most bathroom drain clogs — hair and soap buildup — you don’t need a plumber or harsh chemicals. A simple drain snake or hair removal tool handles the majority of household clogs in under 20 minutes. Fall prevention starts with the basics, and a clear tub drain is exactly that kind of basic.
A drain snake tool set is one of the most practical items to keep permanently at a parent’s house — the flexible rod-and-brush style handles hair clogs and soap buildup in bathroom and kitchen drains without chemicals, and it’s reusable across every visit.




Once the drain is clear, add a simple drain hair catcher to the tub going forward. It takes seconds to install and prevents the problem from returning between visits.







The Reframe That Makes This Easy
Fixing a slow drain isn’t a plumbing project. It’s fall prevention. Those 20 minutes in the bathroom are protecting your parent’s independence — and that’s worth every minute.
The One Maintenance Task Most Adult Children Never Think About
The Dryer That “Just Takes Longer These Days”
If your parent has mentioned — even offhandedly — that the dryer seems to take two cycles to finish a load, pay attention. That’s not a dryer problem. That’s almost certainly a venting problem. And a lint-packed dryer vent is one of the leading causes of home fires in the U.S., according to the U.S. Fire Administration.
The buildup happens slowly and silently. Neither you nor your parent would notice until something goes wrong.
Warning Signs to Check Right Now
- Laundry takes more than one cycle to fully dry
- The laundry room or dryer exterior feels unusually hot
- Clothes are hotter than normal when the cycle ends
- You can see lint around the exterior vent cap outside
Any one of these is a flag. All of them together means clearing the vent is your top priority for this visit.
What You Can Handle Yourself in 15 Minutes
Pull the dryer out from the wall. Disconnect the flexible vent hose from the back. Shine a flashlight inside — both into the hose and into the wall duct. What you see tells you everything.
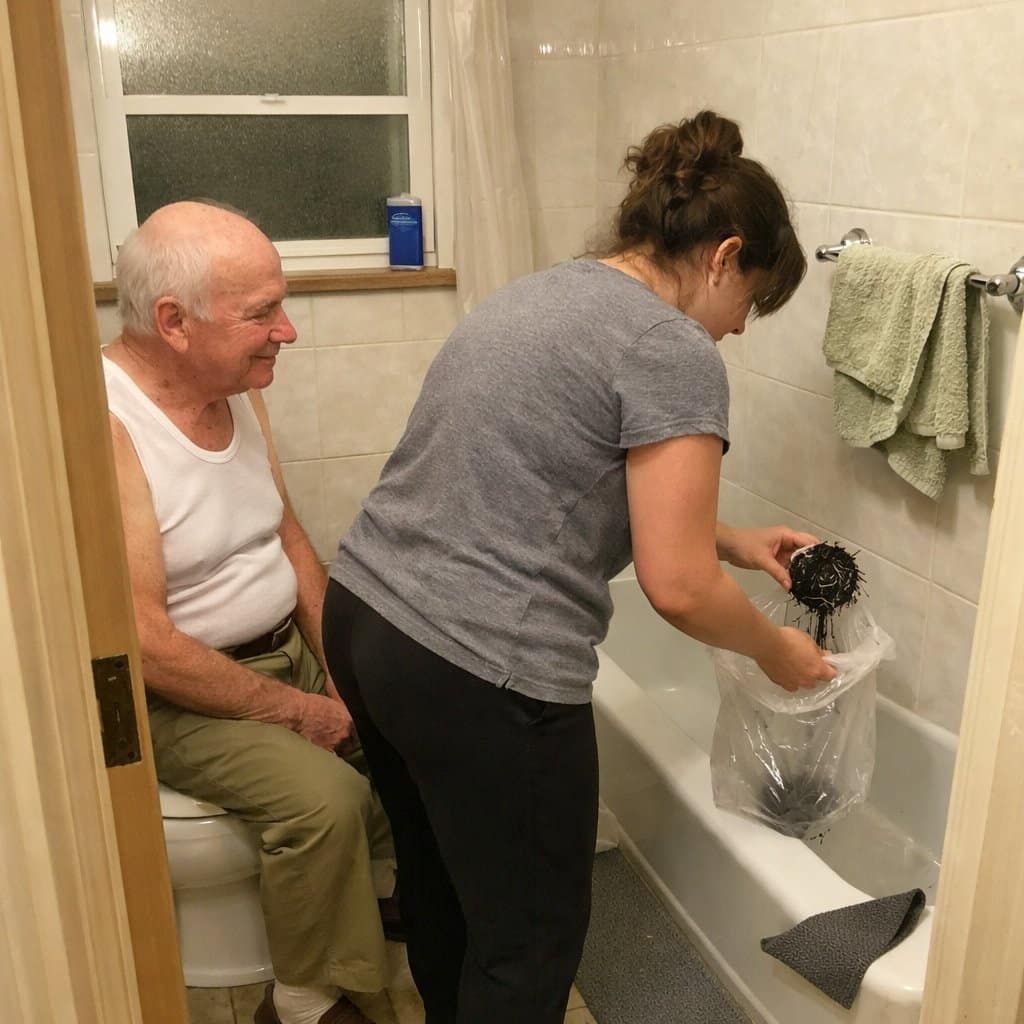
Light, distributed lint is normal. A dense, packed mass of lint is a fire hazard. A dryer vent cleaning kit — the flexible rod-and-brush type that attaches to a standard drill — is inexpensive, easy to use, and clears most residential vent lines completely in under 20 minutes. It’s the same category of tool as the drain snake, and many kits handle both tasks, making it a genuinely useful two-for-one purchase to leave permanently at your parent’s house.




When to Call a Professional
If the vent run is very long, goes through walls, or you see signs of damage to the duct, call a professional dryer vent cleaning service. The kit handles straightforward runs; complex systems need more than a weekend fix.
But for most homes? This is 15 minutes of work that closes one of the highest-risk fire hazards you’ll ever encounter. You don’t need to be a contractor to catch this.
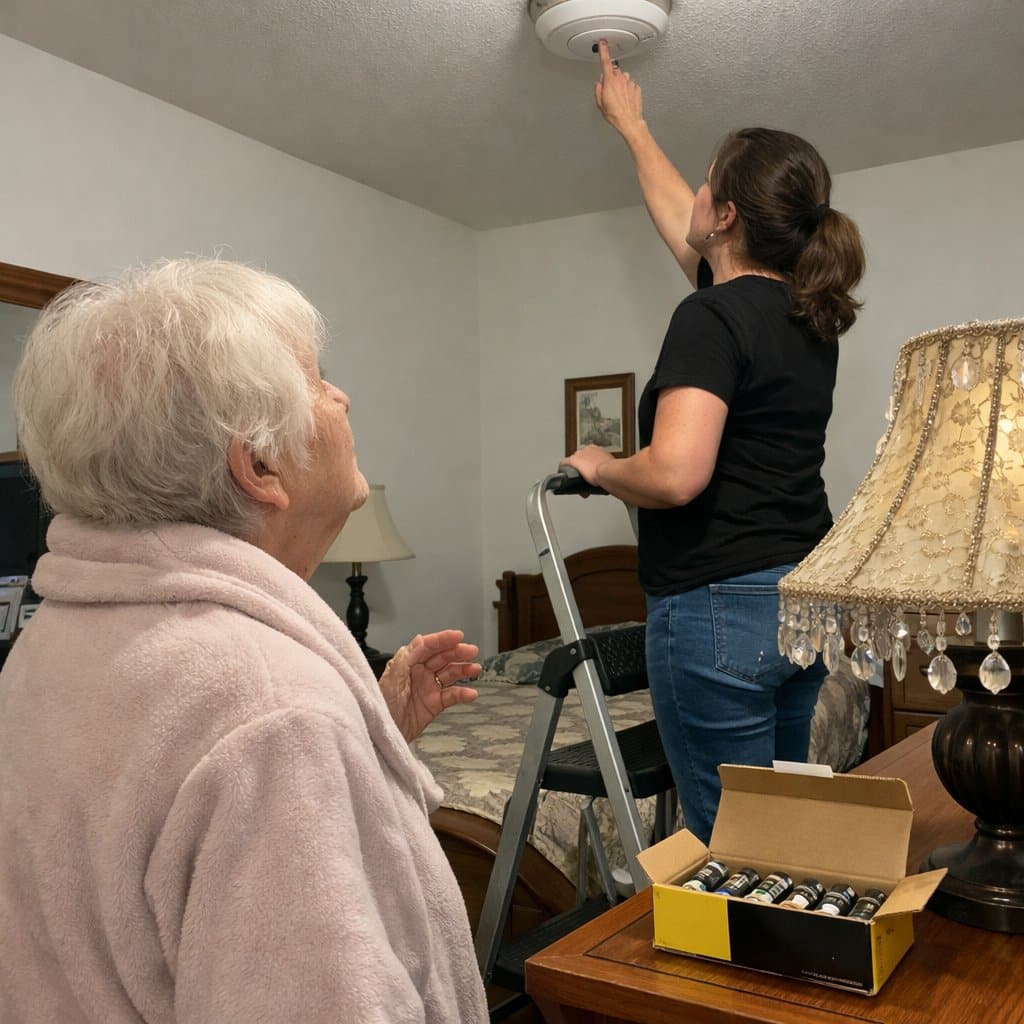
Walk Every Smoke and Carbon Monoxide Alarm in the House


The Quiet Battery Problem
Most older adults know their smoke alarms need batteries. Most genuinely believe the batteries are fine. And many are wrong — not through carelessness, but because the low-battery chirp is easy to miss, easy to silence, and easy to forget.
Make this the first five minutes of every visit. Build it into your arrival routine before you even unpack.
Your Systematic Alarm Walk-Through
Go room by room and do all of the following:
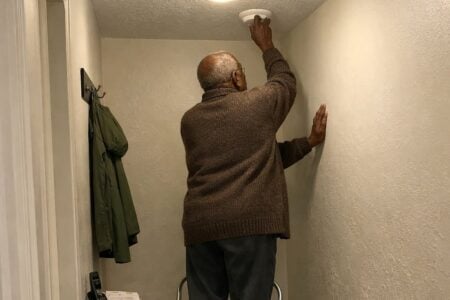
- Press the test button on every unit — a functioning alarm is loud and immediate
- Check battery age — if you don’t know when it was last changed, change it now
- Read the manufacture date printed on the back of the detector — most smoke alarms have a 10-year lifespan and should be replaced after that, regardless of whether they still chirp
- Confirm carbon monoxide detectors are present, especially near bedrooms and any room with gas appliances or an older HVAC system
- Check placement — every bedroom, outside every sleeping area, and on every level of the home
The Upgrade Worth Discussing
If any units are aging out or running on standard batteries, this is a natural moment to upgrade. Sealed 10-year lithium battery smoke detectors eliminate the annual battery-change task entirely and keep working even during a power outage — no chirping, no forgotten replacements, no gap in protection.


Frame it to your parent exactly as it is: a smarter, lower-maintenance version of what was already there. It supports their independence without drawing attention to limitations. For more on what makes a strong smoke alarm for older adults, I’ve put together a full guide to the best smoke detectors for seniors that covers loud alerts, visual indicators, and smart connectivity options.
Ready to discover more practical strategies for supporting the older adults you love? Subscribe to our newsletter for expert-tested tips and product recommendations designed specifically for older adults and the people who care for them.
The Structural Walk-Through Most People Skip
What Slow-Building Hazards Actually Look Like
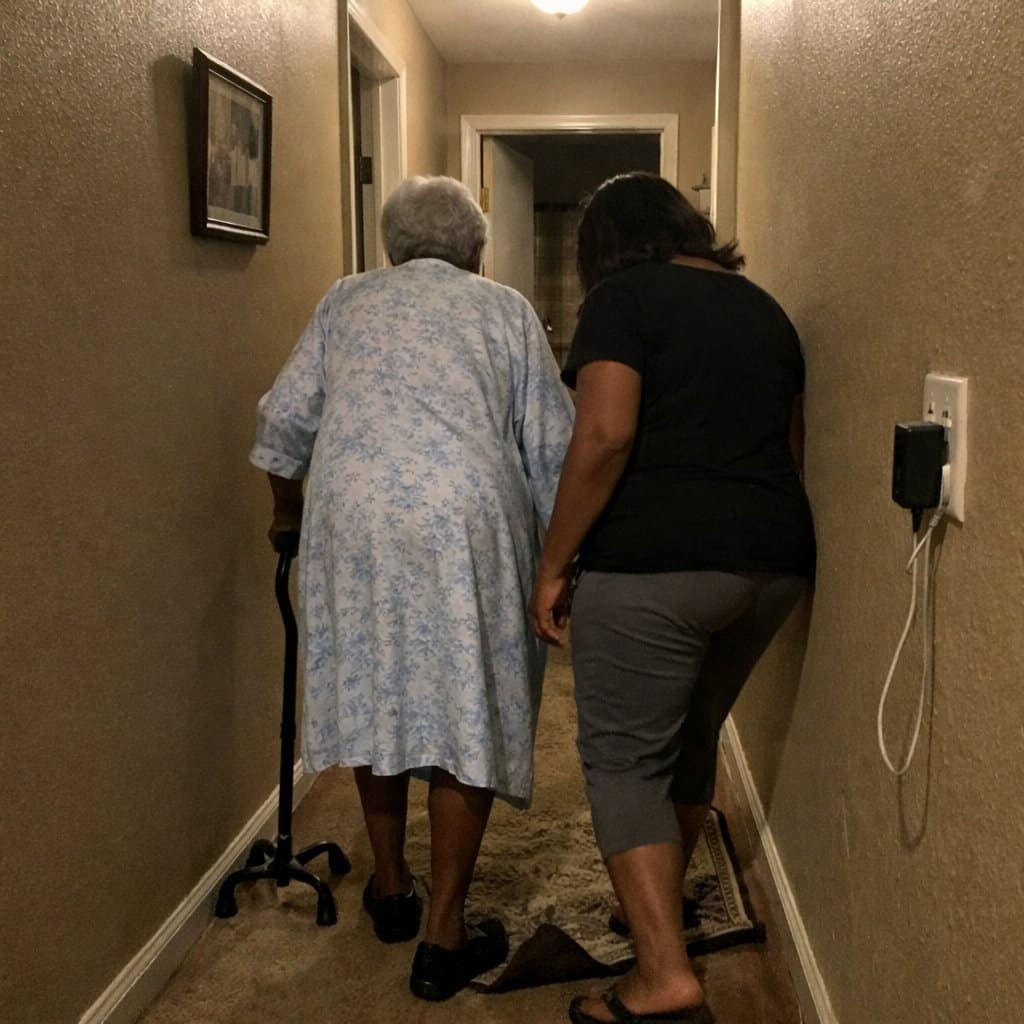
Beyond appliances and drains, a quick visual walk-through of high-traffic areas can surface hazards that develop gradually — loose handrails, worn thresholds, dim lighting, or rugs that have shifted into trip hazards over months of foot traffic.
None of these feel urgent. All of them matter.
A Room-by-Room Mental Framework
You’re not inspecting your parent’s home — you’re doing what any caring homeowner does. Walk these five areas with fresh eyes:
- Entryway: Is the threshold even and secure? Is there adequate lighting? Any mail or bags creating a trip hazard near the door?
- Bathroom: Is the bath mat non-slip and flat? Are any grab bars present where needed — and are they secure? Is there a clear path from the bed to the toilet at night? Our bathroom safety products guide covers the highest-value upgrades if anything needs attention.
- Kitchen: Are frequently used items within easy reach? Is the floor clear of mats or rugs that could slide?
- Bedroom: Is there a clear, well-lit path from the bed to the bathroom? Are there any loose cords or rugs near the bed?
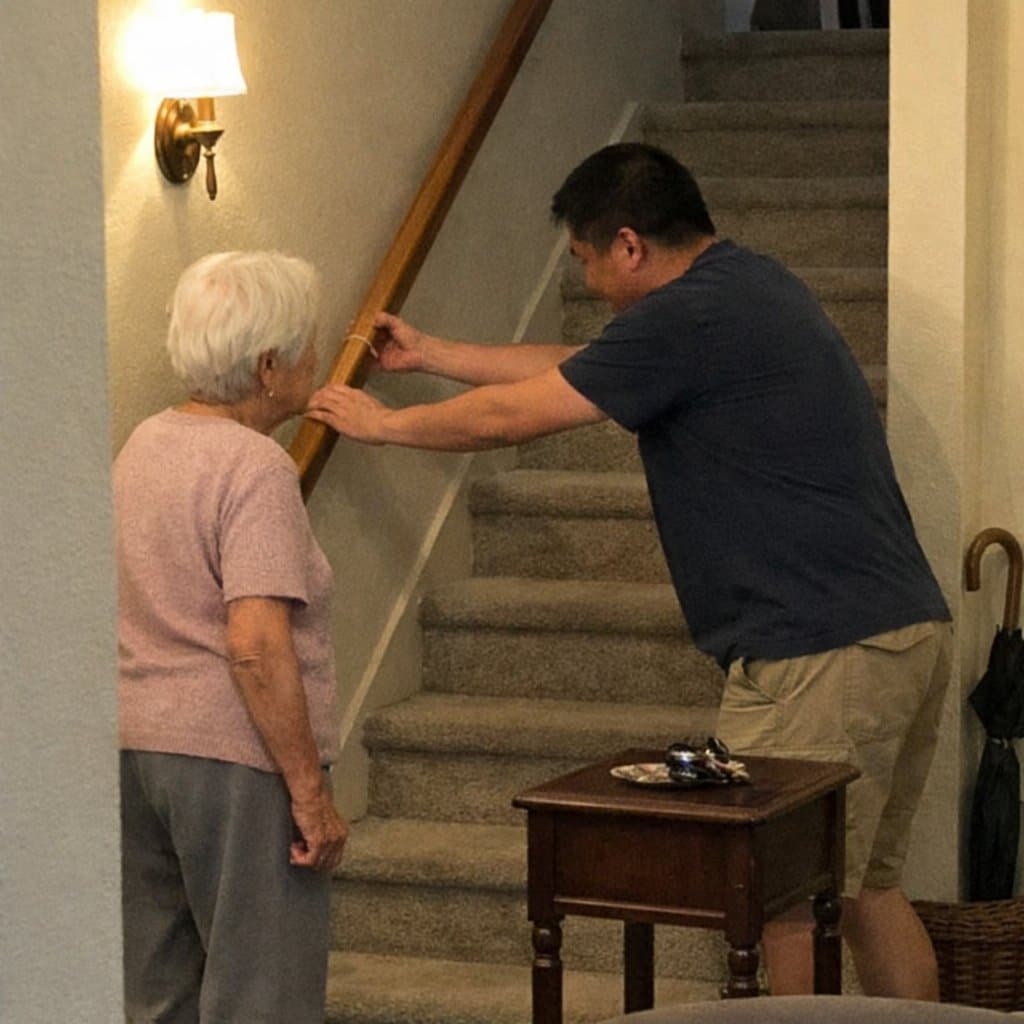
- Staircase: Test every handrail — it should be solid, not wobbly. Check that stair edges are visible and not worn smooth.
Fixes You Can Complete in an Afternoon
Most of what you find during a structural walk-through falls into two categories: fix it now, or note it for next time.
Fix it now:
- Tighten a loose handrail with a screwdriver
- Remove a curled or sliding rug from a high-traffic area
- Swap a dim bulb for a brighter LED — especially in hallways and stairwells
- Clear any clutter from walkways
Note for next time or professional follow-up:
- Handrails that need wall anchor repair
- Flooring that’s lifting or uneven
- Lighting that requires new fixture installation
The Tool Kit Worth Leaving Behind
A basic home maintenance tool kit — screwdriver set, pliers, small wrench, level — means small repairs don’t wait for your next visit or require a service call. Many adult children find it more practical to leave one permanently at a parent’s house rather than carrying tools back and forth. Better lighting throughout the home is one of the highest-impact changes for older adults — it reduces fall risk, supports vision, and makes nighttime navigation far safer.





If you notice the bathroom needs more than a rug swap — if there’s a real case for grab bars or a shower chair — our shower safety tips guide walks through the most important modifications and how to approach the conversation with your parent.
Build the Habit — What to Do Before You Leave


The Five-Minute Debrief That Makes Visit Two Easier
Before you pull out of the driveway, take five minutes to document three things: what you fixed, what you noticed but couldn’t address, and one task to prioritize on your next visit.
That’s your checklist for visit two. It takes the mental load off your memory and keeps the momentum going.
What to Leave Behind
The most effective maintenance visits don’t just fix things — they set up the house for a safer six months ahead. Before you go, make sure these are stocked and accessible:
- Spare batteries — leave a supply of the sizes your smoke alarms and other devices use
- Drain hair catchers — installed on every tub and shower drain you cleared
- Basic tool kit — left in a consistent, easy-to-find location
- Cleaning kit for drains and dryer vent — stored where your parent or a neighbor can access it if needed
Set the Next Reminder Before You Leave the Driveway
Pull out your phone and set a calendar reminder for your next visit before you leave. Attach a note: “Check drains, test alarms, walk the house.” That 10-second step transforms a one-time effort into a repeatable habit — and a repeatable habit is what actually keeps a parent’s home safe year after year.
How to Frame This with Your Parent
You’re doing this together, not for them. A simple “I just want to run through a few things while I’m here — it’ll take 20 minutes and then we can have lunch” goes a long way. Most older adults appreciate the attention to their home. What they don’t appreciate is being made to feel incapable. These are normal homeowner tasks — the same ones you’d do in your own house.
For more on how to navigate these conversations with care, our guide on helping older adults while respecting their independence offers practical language that keeps dignity front and center.
The Twice-a-Year Visit Checklist: A Room-by-Room Home Safety Walkthrough for Your Aging Parent’s House
Download this free room-by-room home safety checklist and identify hidden fall risks, fire hazards, and maintenance problems in your aging parent’s house—everything you need to fix in one practical, printable guide.
A Two-Day Visit Can Cover More Than You Think
The goal of a maintenance visit isn’t to turn a weekend with your parent into a work project. It’s to make every other day of the year safer and more independent for someone you love — without them having to ask.
Checking drains takes 20 minutes. Inspecting the dryer vent takes 15. Walking smoke alarms takes five. The structural walk-through takes an hour, most of which is just looking. You can do all of this in a single Saturday morning and still have the rest of the weekend for the conversation you drove four hours to have.
Showing up with a checklist is one of the most loving things an adult child can do. It says: I see your home. I take your safety seriously. And I’ve got this.
Save or print this article before your next visit, and add at least one of these tasks to your arrival routine. Then come back and tell me — what’s the one thing you always check, or wish you had checked sooner? Someone else’s answer might be exactly what another reader needs to hear.