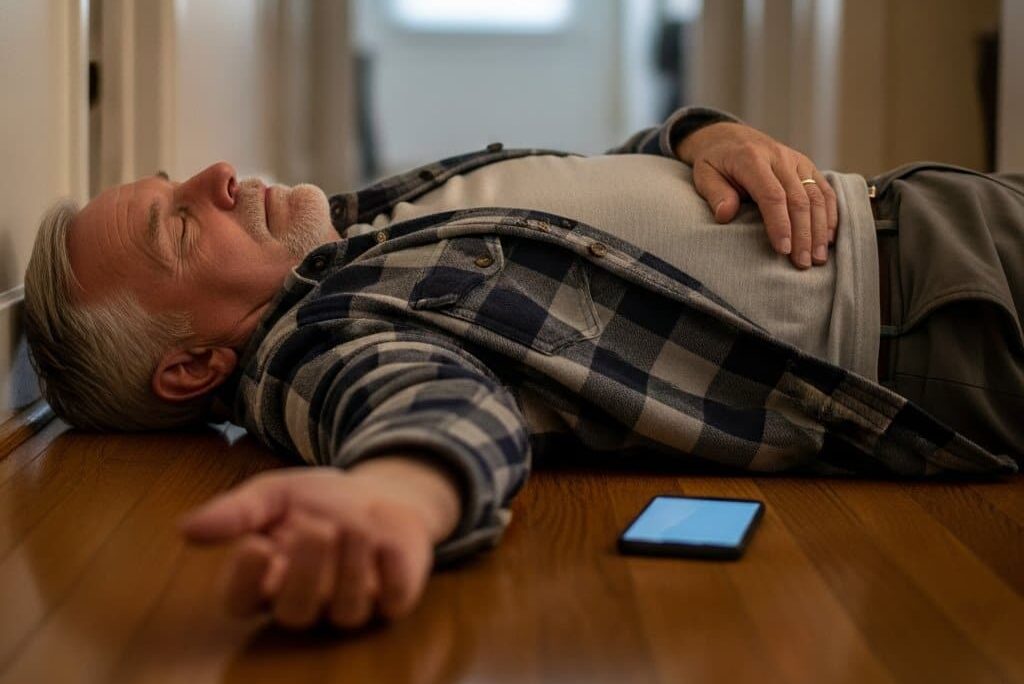
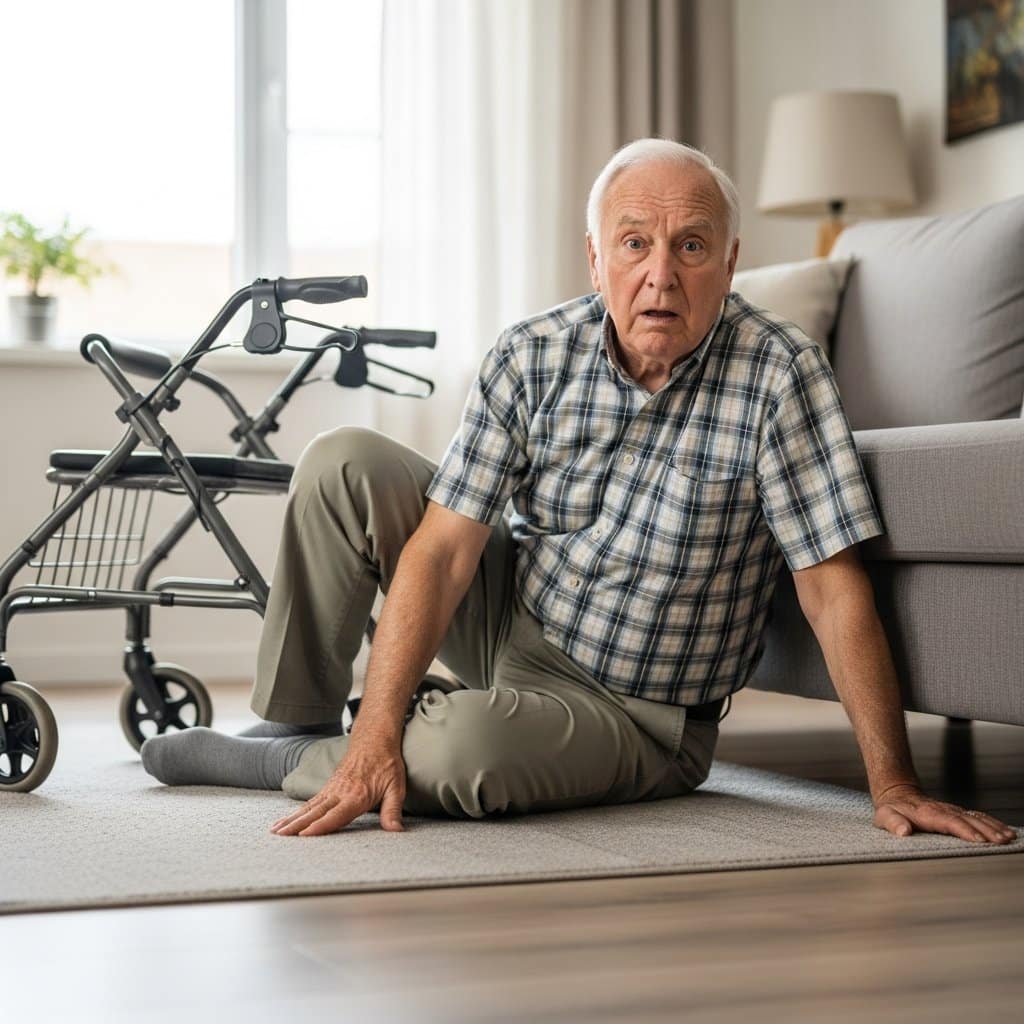
Picture a warm summer afternoon. You’re home alone, enjoying a quiet day — maybe tending the garden or settling in with a good book. Then comes a dizzy spell. You sit down, but it doesn’t pass. A question drifts through your mind: If I needed help right now, would anyone know? Would first responders know what medications I’m on?
Most older adults who own smartphones use them confidently every day — calls, texts, photos, maybe a video chat with the grandkids. But almost no one has set up the features designed specifically for moments like this. That’s not a personal failing. These features are buried in settings menus nobody talks about, and nobody thinks to look.
Here’s what I want you to know: the setup takes about three minutes. It’s already on every iPhone and Android — nothing to buy, nothing to download. And it can communicate your critical health information to first responders even if your phone is locked and you cannot speak.
Let me walk you through five specific features, step by step, starting with the most important one.
The Senior Phone Safety Checklist: 5 Life-Saving Features to Set Up Before Summer
Download this step-by-step checklist to activate five hidden safety features already on your phone that can save your life in an emergency—no technical skills or expensive apps required.
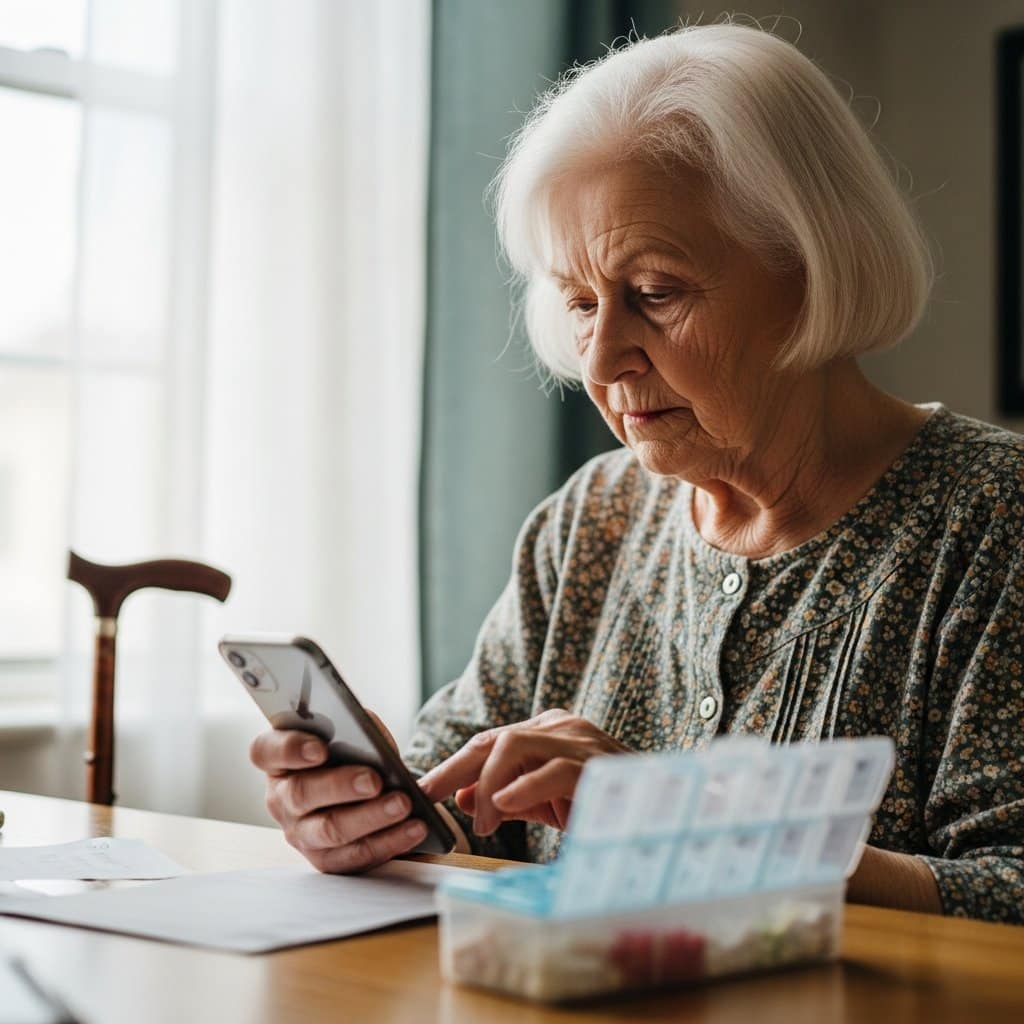
What Is Medical ID — And Why First Responders Check It Before Anything Else
Medical ID is a free, pre-installed feature that displays your critical health information on a locked phone screen — no passcode needed, no unlocking required. First responders and paramedics are trained to look for it the moment they arrive on scene.
What Medical ID Shows
When someone sets up Medical ID properly, it can display:
- Current medications and dosages
- Known allergies (including medication allergies)
- Blood type
- Chronic conditions (diabetes, heart disease, etc.)
- Emergency contact name and phone number
Think about the difference that makes. A first responder arriving at a scene with no information is working in the dark. One who immediately sees a full medication list and an emergency contact name can make faster, better decisions — before a word is spoken.
Why Summer Makes This More Urgent
Heat stroke, dehydration, and cardiac events can cause sudden incapacitation — especially for older adults living alone. These are exactly the situations where you may not be able to speak for yourself. Medical ID speaks for you.
Setting this up isn’t preparing for disaster. It’s the same logic as keeping a spare key with a trusted neighbor.
How to Set It Up (iPhone)
- Open the Health app
- Tap your profile photo (top right corner)
- Select Medical ID
- Tap Edit and fill in your information
- Toggle Show When Locked to ON — this is the critical step
- Tap Done
How to Set It Up (Android)
- Open the Google or Samsung Health app (varies by phone brand)
- Navigate to your profile or Emergency Information section
- Fill in medications, allergies, conditions, and emergency contact
- Enable the option to show on lock screen
Some older adults pair this digital record with a physical medical ID bracelet


as a reliable backup — especially useful for outdoor summer activities where phones may not be immediately visible to a first responder.
For more on making your home and daily routine safer, this fall prevention checklist is a practical place to continue.

Emergency SOS: The One Button That Calls for Help When You Can’t
Emergency SOS is already built into every smartphone. It takes two minutes to understand, and it could matter enormously in an outdoor fall, a heat emergency, or any moment where speaking is difficult or impossible.
How It Works on iPhone
Press and hold the side button and either volume button simultaneously. A slider appears — drag it to call 911. On newer iPhones, rapidly pressing the side button five times also triggers an emergency call. When it connects, your phone automatically shares your location with emergency services and sends a text alert to your designated emergency contacts.
How It Works on Android
The exact sequence varies by manufacturer, but most Android phones use a rapid press of the power button (typically five times) to trigger Emergency SOS. Check your phone’s Settings > Safety and Emergency to confirm your model’s method and customize it.
What About Accidental Calls?
This is a legitimate concern, and I hear it often. The good news: you can adjust the sensitivity. On iPhone, go to Settings > Emergency SOS and turn off “Call with Side Button” if you find it triggers too easily — the hold method is slower and more deliberate. On Android, the Settings > Safety and Emergency menu offers similar customization.
Does Emergency SOS Work Without Cell Service?
In many cases, yes. Emergency SOS calls can connect through any available carrier signal — even if you don’t have an active plan or your regular carrier has no coverage in that spot. It’s not guaranteed everywhere, but it often works when a regular call wouldn’t.
Practice Without Calling
Try the button sequence once — just to build muscle memory — without completing the call. On iPhone, you’ll see the emergency slider appear; simply don’t drag it. Knowing exactly where that button is before you need it is the whole point.
This is the same logic as knowing where the fire extinguisher is before you smell smoke.
A sturdy phone stand


for your home keeps your phone visible, charged, and within reach rather than buried in a bag — which matters a great deal when you need to navigate quickly.
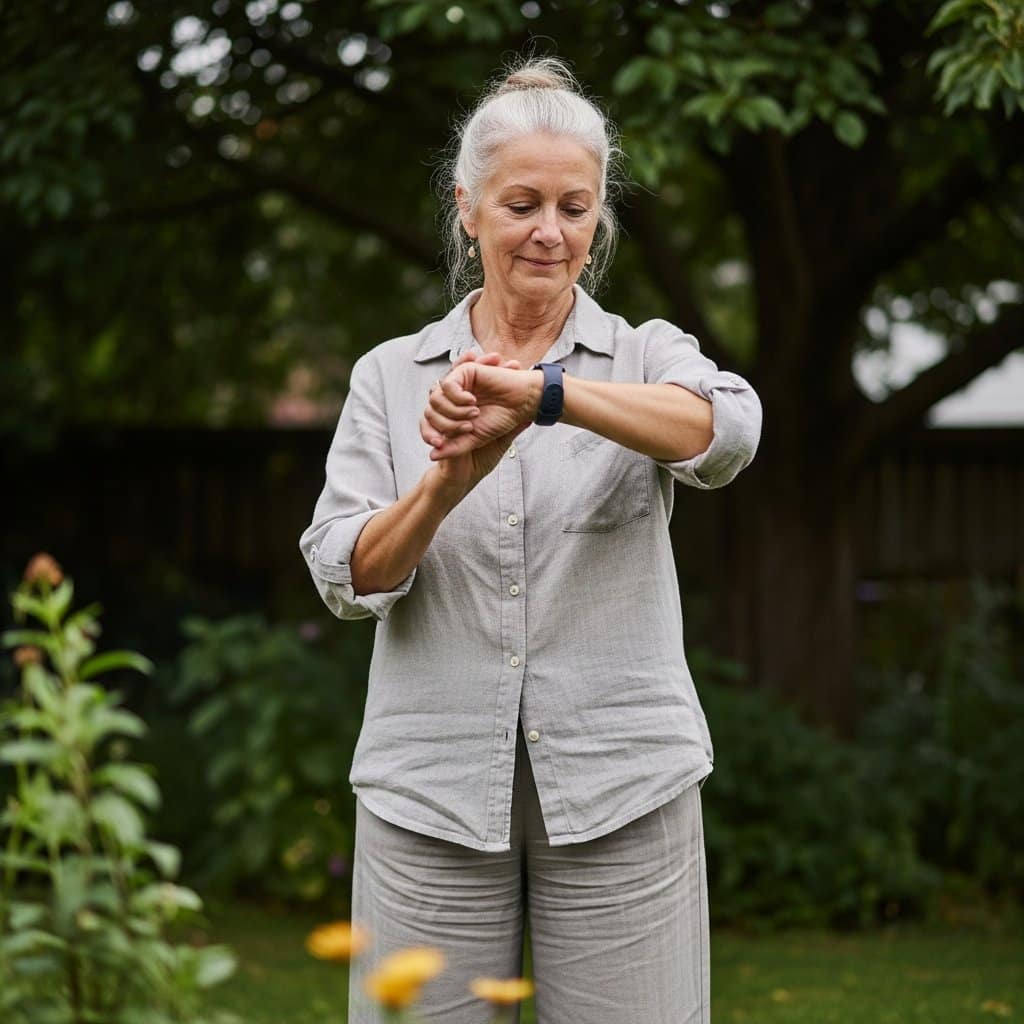
Fall Detection on Smartwatches: What It Does, Who It’s For, and Whether It’s Worth It
If you already wear an Apple Watch (Series 4 or later) or a comparable Android wearable like a Samsung Galaxy Watch, fall detection may already be available to you — and activating it costs nothing.
How Fall Detection Works
The watch uses its accelerometer and gyroscope to recognize the sharp, distinctive motion of a fall. When it detects one, it taps your wrist and shows an alert. If you don’t respond within about 60 seconds — because you’re unconscious or unable to move — it automatically calls emergency services and shares your location.
The Real Variable: Wearing It Consistently
Fall detection only works when the watch is on your wrist. That’s not a criticism — it’s just the honest reality. A phone left on the kitchen counter doesn’t help someone who falls in the backyard on a hot summer afternoon. A watch that’s worn does.
For someone who already wears a watch daily, enabling fall detection is genuinely a no-effort upgrade.
How to Enable It
Apple Watch: Go to Settings > Emergency SOS > Fall Detection and toggle it on. If you’re under 55, you may need to enable it manually — the watch enables it automatically for users 55 and older.
Samsung Galaxy Watch: Open the Samsung Health Monitor app on your phone and look for Fall Detection under safety settings.
Is It a Replacement for a Medical Alert Device?
Not exactly — but it’s a strong complement. A dedicated medical alert system offers more reliable detection and often 24/7 monitoring through a call center. A smartwatch offers fall detection as one feature among many, and requires consistent wearing and charging. Both can serve complementary roles depending on your lifestyle.
For readers who want emergency detection without a smartwatch, dedicated emergency alert wearables
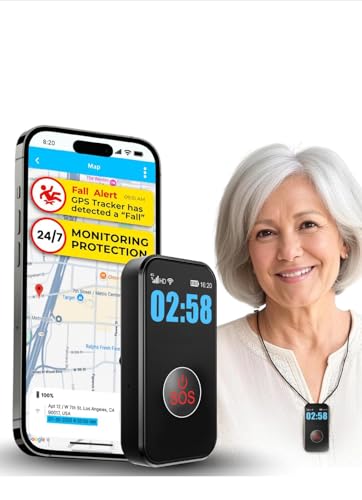


— worn as pendants or wristbands — offer similar automatic detection without the learning curve of a full smartwatch.
If you’re exploring your broader options for mobility and independence, this overview of mobility aids for older adults is worth a look.
Want more practical tips on aging safely and independently? Subscribe to our newsletter — I share trusted, experience-based advice every week for older adults and the people who care about them.
How to Share Your Location With Family Without Feeling Watched
Location sharing sometimes sounds like surveillance. It doesn’t have to be — and it shouldn’t be. Done right, it’s a safety net you design yourself, on your own terms.
What Location Sharing Actually Is
Both iPhones and Android phones allow you to share your real-time location with one trusted contact — a daughter, a son, a close friend. That person can see on a map where you are, which can be especially reassuring during summer when heat risks are higher and check-in routines matter more.
Crucially: you control it completely. You turn it on. You can turn it off at any time. You choose who sees it. There’s no alert sent to the other person — you simply become visible (or invisible) on their map.
The Difference Between Passive Sharing and Active Check-Ins
Always-on location sharing means a trusted contact can see your location any time they open the app. You might prefer this for a travel day or a period when you’re not feeling well.
Active check-ins — a quick text saying “I’m home” — are a lower-tech alternative some people prefer. Either approach works. The right one is the one that feels comfortable to you.
How to Set It Up
iPhone (Find My):
- Open the Find My app
- Tap Share My Location
- Choose one trusted contact and select how long to share (one hour, until end of day, or indefinitely)
- To stop sharing anytime: return to Find My > tap the contact > Stop Sharing Location
Android (Google Maps):
- Open Google Maps
- Tap your profile photo > Location Sharing
- Select a contact and a time period
- To stop: return to the same menu and tap Stop
A Real-Life Example
Imagine you’ve agreed to share your location with your daughter during summer. After an unusually hot afternoon with no check-in text, she notices you’ve been home all day — no movement, no response. She calls. That’s not surveillance. That’s a safety net you chose to put in place, on your own initiative.
Independence doesn’t mean going it alone. It means making informed choices about who has your back.
This pairs well with the broader conversation about safety products for older adults living alone — a helpful resource if you’re thinking through your full setup.
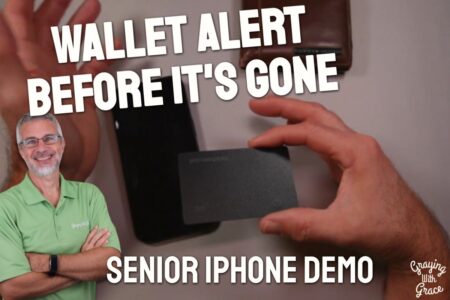
No Smartphone? No Problem — The Wallet Card That Does the Same Job
Not everyone carries their smartphone everywhere. Phones run out of battery. They get left in another room. And some older adults simply prefer not to rely on one.
For all of these situations, the ICE (In Case of Emergency) wallet card is the simplest, most reliable backup available.
What to Put on an ICE Card
- Your full name
- Current medications and dosages
- Known allergies
- Blood type (if known)
- Primary physician’s name and phone number
- Emergency contact name and number (at least two, if possible)
First responders are also trained to check wallets when phones aren’t accessible — so a card tucked behind your ID or insurance card can make a real difference.
Who This Is For
This is the right solution for anyone who wants the same protection as Medical ID without any tech setup at all. It’s also a smart backup for smartphone users who are outdoors, traveling, or simply want a redundant layer of safety.
Pre-printed ICE wallet card templates


are available at no cost online, and durable laminated or metal versions make long-lasting, wallet-friendly options worth keeping updated once a year.
This is the simplest version of everything covered in this article — three minutes to fill out, fits in any wallet, works everywhere, no charging required.
The Senior Phone Safety Checklist: 5 Life-Saving Features to Set Up Before Summer
Download this step-by-step checklist to activate five hidden safety features already on your phone that can save your life in an emergency—no technical skills or expensive apps required.
You Already Have Everything You Need — Now It’s Time to Use It
None of what I’ve covered requires buying anything new or mastering complicated technology. Medical ID, Emergency SOS, fall detection, location sharing, and an ICE card — every one of these is either already on the phone in your pocket or costs nothing to create.
Taking a few minutes to configure these features isn’t an admission of vulnerability. It’s the same practical wisdom that keeps a first-aid kit in the house, or buckles a seatbelt before pulling out of the driveway. It’s quiet, capable self-care.
Your Action for Today
Pick one feature from this article and set it up before the end of the day. Just one. If you have a family member nearby, make it a ten-minute project together — it’s a meaningful way to spend a few minutes, and they’ll feel better knowing it’s done.
If you know someone who lives alone — a neighbor, a friend, a sibling — share this article with them this week. Medical ID in particular is something that works for them whether or not they ever think about it again after setup.
I’d love to hear from you in the comments: which feature are you setting up first? Your experience might be exactly what someone else needs to hear.
If you’re continuing to think through home safety and independence, the bathroom safety products guide and this overview of fitness trackers for older adults are both worth your time. And for anyone considering a wearable for ongoing safety, the best medical alert watches guide breaks down the top options clearly.