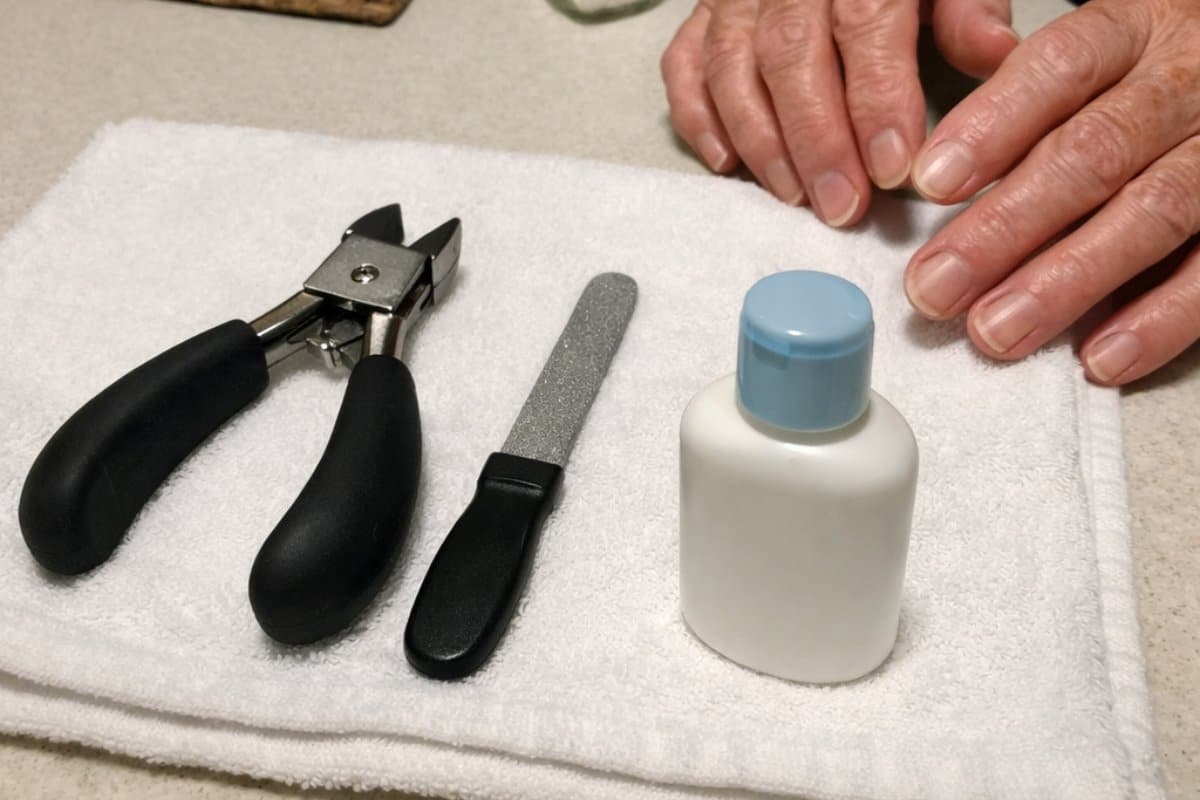
You’re sitting across from your parent, clippers in hand, staring at nails that look nothing like what you expected.
They’re thick. Curved.
The skin around them looks delicate. And suddenly, a simple task feels like something you absolutely cannot mess up.
That moment of hesitation? It means you’re paying attention. And paying attention is exactly what makes a good caregiver.
Learning how to trim toenails on an elderly parent isn’t something most of us were ever taught — and yet here you are, responsible for it. I’ve walked through this moment with so many caregivers over the years.
What I can tell you is this: you don’t need a medical degree to do this well. You need preparation, a little technique, and the confidence that comes from knowing what to expect.
This guide covers everything — how to soften thick toenails before cutting, how to position yourself and your parent, how to avoid cutting skin, and when to stop and call a podiatrist. By the end, you’ll be ready.
Safe Toenail Trimming Checklist for Caregivers: A Step-by-Step Guide to Caring for Your Parent’s Feet at Home
Download this step-by-step checklist to safely trim your parent’s toenails at home with confidence—eliminating the anxiety and guesswork that keeps most caregivers from attempting foot care themselves.
Why Toenail Trimming Matters More as Parents Age
This isn’t just about appearances. For older adults, toenail care is directly connected to mobility, comfort, and safety.
As we age, toenails naturally thicken due to slower cell turnover and reduced circulation to the feet. That thickness makes them harder to cut — and more likely to cause real problems if neglected.
The Real Risks of Overgrown Toenails
Overgrown nails press against the inside of shoes, altering how your parent walks. That subtle shift in gait affects balance — and balance affects fall risk. This is one reason fall prevention experts consider foot care a meaningful part of a safe-aging plan.
Neglected nails can also lead to ingrown toenails, skin breakdown, and infections — particularly serious for anyone with diabetes or circulation issues.
When you trim your parent’s toenails thoughtfully, you’re not doing a grooming chore. You’re actively protecting their ability to walk safely and stay comfortable in their own home.
Step 1 — Gather Your Supplies and Prepare the Space

A calm, well-prepared setup makes everything easier. Rushing into this without the right tools or lighting is where most mistakes begin.
What to Gather Before You Start
- Toenail clippers (more on the right kind below)
- A nail file or emery board
- A clean towel
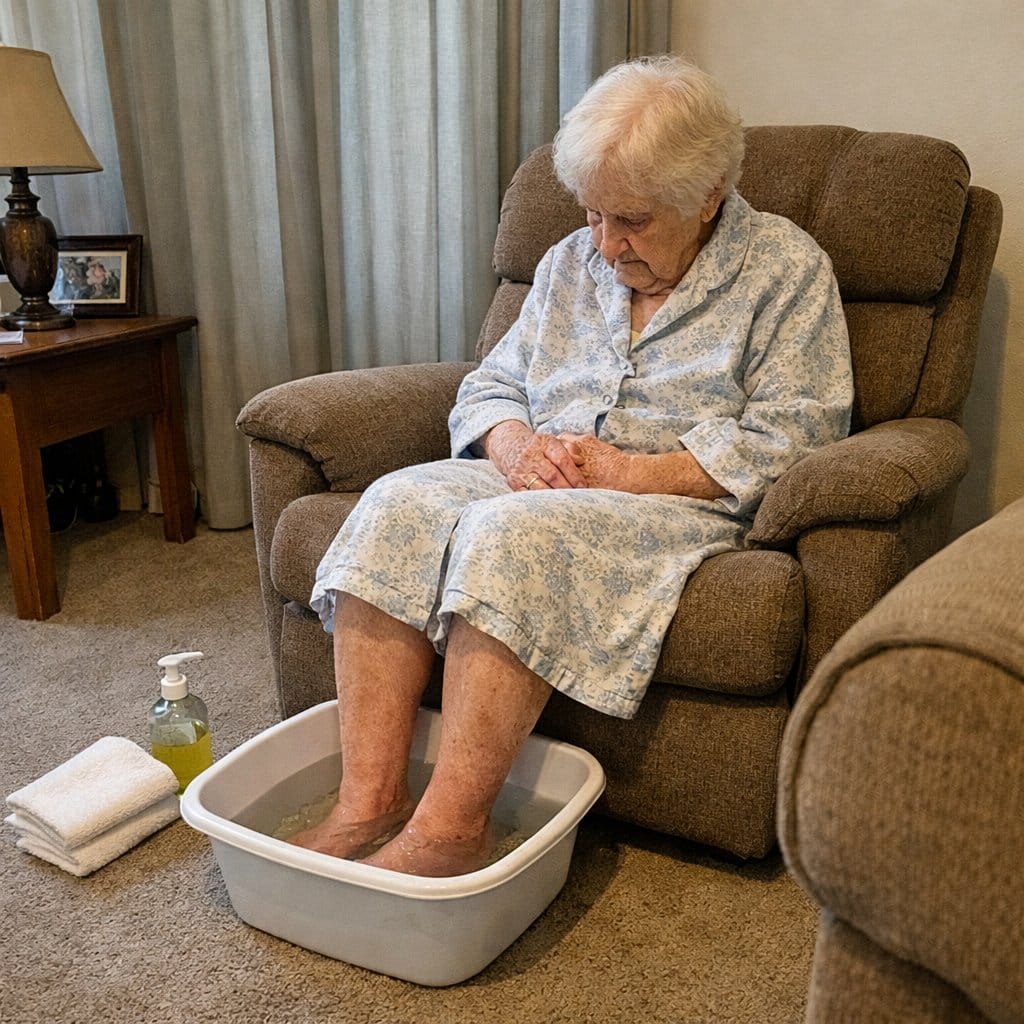
- A basin of warm water
- Good lighting — a bright lamp pointed directly at the feet
- A magnifying glass if needed
- Mild soap for cleaning tools before and after
Set Up for Comfort — Yours and Theirs
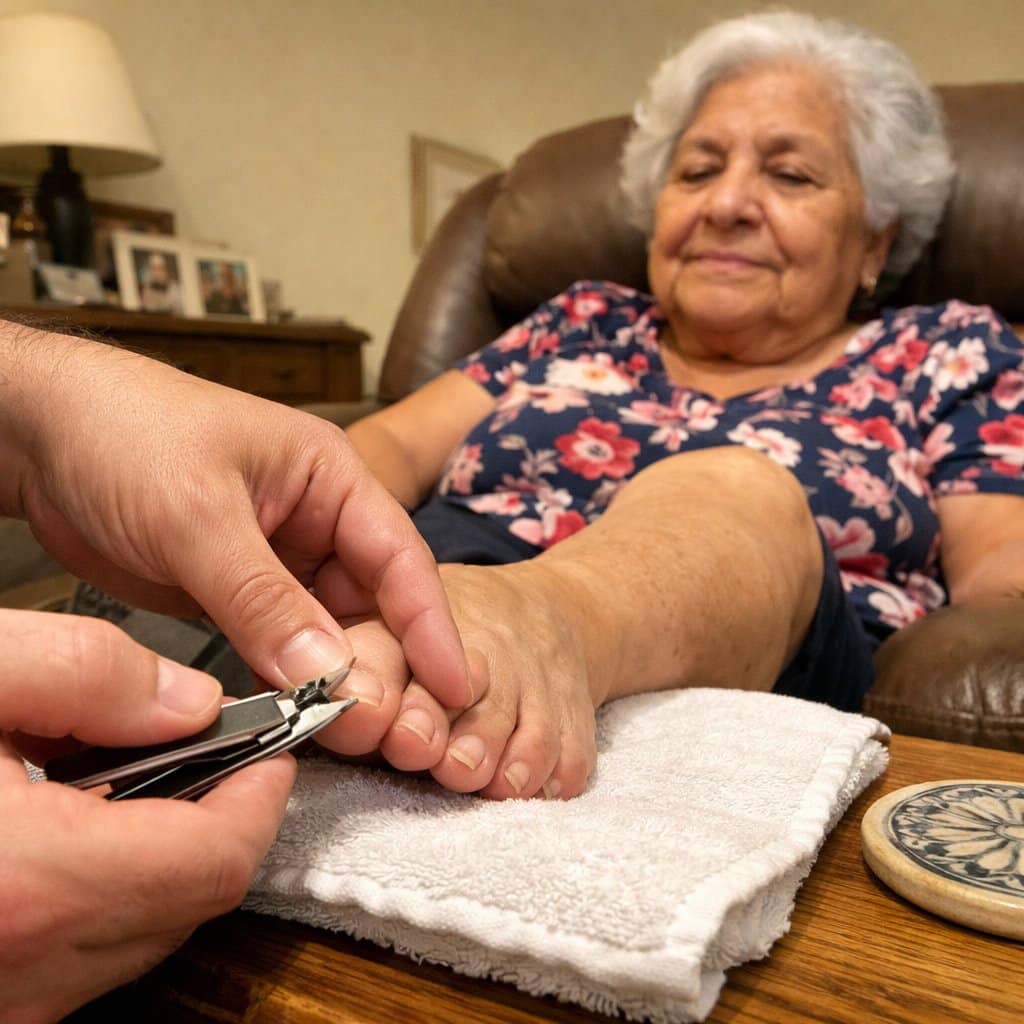
Position your parent in a sturdy chair with good back support. Sit on a low stool or footstool directly in front of them so you’re not hunched over. Awkward positioning leads to rushed cuts and slips — take the time to get comfortable before you start.
Make sure the room is well-lit. Shadows around the nail bed are where small cuts happen.
Use the Right Clippers for Thick Nails
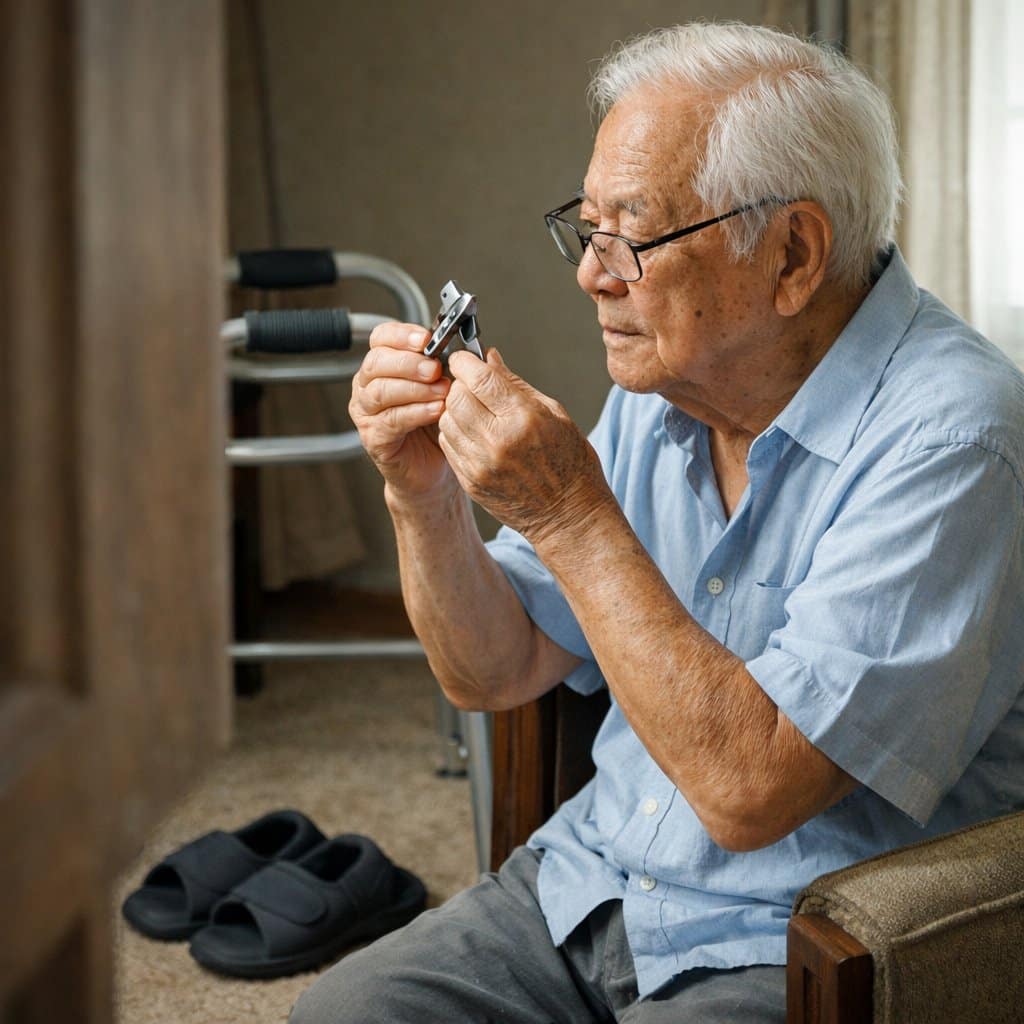
Standard nail clippers aren’t built for the thick, hardened nails common in older adults. They tend to slip, crush, or require so much force that you lose control. A toenail clipper designed specifically for thick nails — one with a wide jaw opening, strong lever action, and an ergonomic grip — gives you far more accuracy and ease. The right toenail clipper makes a significant difference in how cleanly and safely you can work.


Clean Tools Before and After
Wipe clippers with rubbing alcohol before you begin and again when you’re done. This is a simple hygiene step that protects your parent’s skin from any bacteria that could cause irritation.
Step 2 — Soften the Nails Before You Cut

This is the single most important step that caregivers skip — and the one that prevents the most pain and damage.
Hard, dry toenails crack and splinter when cut. They also require more force, which increases the chance of the clipper slipping. Softening first changes everything.
How to Soften Thick Toenails
The simplest method: soak your parent’s feet in warm (not hot) water for 10 to 15 minutes before trimming. Alternatively, trim nails right after a bath or shower when the nails are naturally softened.
If soaking isn’t possible, a urea-based foot cream applied to the nails and left on for several minutes can help soften them enough for cleaner cuts.



How to Know They’re Ready
Softened nails bend slightly when you apply gentle pressure with your thumb. If they feel completely rigid and resist any give, give them a few more minutes in the water.
A Simple Sequence to Remember
- Warm soak (10–15 minutes)
- Pat feet dry gently with a clean towel
- Wait two minutes
- Begin trimming
This feels like an extra step, but it actually makes the whole process faster and cleaner. Think of it as your shortcut, not your delay.
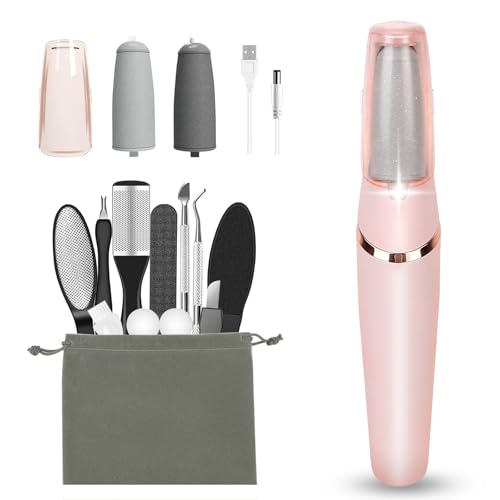
A complete foot care kit that bundles softening cream with nail care tools is a convenient option if you want everything in one place — especially useful when you’re establishing a regular routine.



Caring for a parent’s day-to-day comfort takes patience, knowledge, and the right guidance. Subscribe to our newsletter for more tips on caregiving, mobility, and aging well at home: Join here
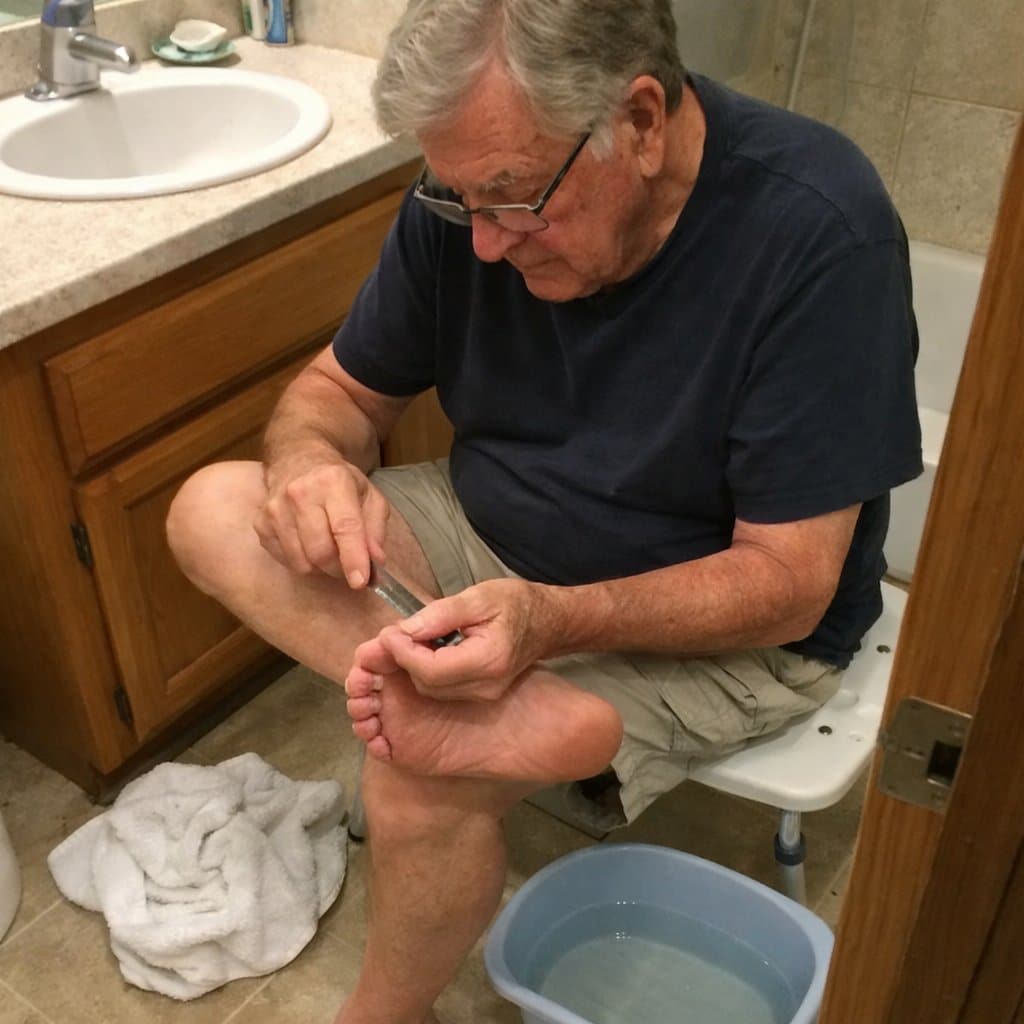
Step 3 — How to Trim Toenails Safely Without Cutting Skin
Technique matters more than speed here. Slow and steady isn’t timid — it’s the correct approach. Even podiatrists move carefully.
The Right Shape: Straight Across
Cut toenails straight across — not curved or rounded at the corners. Rounding the edges is one of the main causes of ingrown toenails in older adults. A straight cut keeps the nail growing forward, not into the surrounding skin.
How Short Is Too Short
Leave a small white edge visible at the tip of the nail. Never cut below the quick — that pale pink area beneath the nail. Cutting into the quick causes pain and bleeding, and creates an opening for infection.
Use Small, Controlled Cuts
Rather than trying to cut the entire nail in one squeeze, make several small cuts across the nail from one side to the other. This gives you more control and reduces the chance of the clipper twisting or slipping.
Never Dig Into the Corners
Leave the corners of the nail alone. Trying to dig into the nail corners — even if you can see a small edge tucked into the skin — is how ingrown nails and skin tears happen. If you see something concerning at the corners, that’s a moment to stop and consult a podiatrist rather than attempt to fix it yourself.
File After You Clip
Once you’ve clipped, use a nail file to smooth any rough or sharp edges. Jagged edges snag on socks and can scratch delicate skin. Filing takes 30 seconds per nail and makes a real difference in comfort.
A dedicated nail file and callus remover is a helpful finishing tool — smoothing both the nail edges and any rough skin around the nail bed that could catch or crack.


If Your Parent Flinches or Pulls Away
Stop immediately. Check where you are in relation to the quick, adjust your position, and start again more slowly. Never rush through discomfort. Pausing isn’t a setback — it’s the right call.
Step 4 — Signs to Watch For Before, During, and After Trimming
Knowing what to look for is just as important as knowing what to do. This is what separates a careful caregiver from someone just going through the motions.
Before You Begin: Signs to Stop and Call a Podiatrist
Check the nails and surrounding skin before picking up the clippers. If you notice any of the following, do not trim — contact a podiatrist instead:
- Redness or swelling at the nail edge (signs of ingrown toenail in elderly)
- Skin that appears to be growing over the nail corner
- Tenderness when you gently press the nail edge
- Discolored nails (yellow, brown, or black) — possible fungal infection
- Nails that are crumbling, unusually thick, or have an unusual odor
- Any open sores or broken skin on the feet
During Trimming: When to Stop Immediately
- Any bleeding — apply gentle pressure with a clean cloth and stop trimming
- Your parent expresses sharp or escalating pain
- You notice something unexpected under the nail (discoloration, soft tissue)
After Trimming: Normal vs. Concerning
A small amount of redness that fades within 15 to 20 minutes is normal. What warrants attention: persistent redness, warmth, swelling, or any discharge in the hours or days following trimming.
When to See a Podiatrist Instead of Trimming at Home
There are situations where home trimming isn’t appropriate, and referring out is responsible caregiving — not a failure. These include:
- Your parent has diabetes or poor circulation
- Nails are severely thickened, deformed, or have a fungal infection
- There are active ingrown nails or infections present
- Your parent has nerve damage affecting sensation in the feet
Recognizing when to call in a professional is one of the most important toenail trimming tips for caregivers I can offer. Podiatrists are there for exactly these situations — and using them when needed is part of good care.
Step 5 — Making This a Routine Rather Than an Event
The first time is always the hardest. Once you’ve done it, the second time is noticeably easier — and the third time starts to feel like something you just do together.
How Often to Trim
For most older adults, toenails need trimming every six to eight weeks. Some grow faster and may need attention every four to five weeks. A quick check during your regular visits will tell you when it’s time.
Making It Comfortable and Even Enjoyable
- Do it in your parent’s favorite chair with familiar surroundings
- Play music or have a conversation during the soak — it becomes calm, not clinical
- Frame it as “foot care time” rather than a procedure
- Pair it with something your parent looks forward to afterward — a cup of tea, a show they like
Track When It Was Last Done
A simple note in your phone or a caregiver planner is enough. You don’t need an elaborate system — just a date so you’re not guessing. This is especially helpful if multiple people share caregiving responsibilities.
If your parent uses any mobility aids or spends a lot of time in supportive footwear, good foot care habits like regular trimming are an important part of keeping their feet healthy and comfortable inside those shoes.
Safe Toenail Trimming Checklist for Caregivers: A Step-by-Step Guide to Caring for Your Parent’s Feet at Home
Download this step-by-step checklist to safely trim your parent’s toenails at home with confidence—eliminating the anxiety and guesswork that keeps most caregivers from attempting foot care themselves.
You’re More Ready Than You Think
Safe toenail trimming at home is absolutely within your reach. It requires preparation, the right tools, patient technique, and the wisdom to know when to refer out — and now you have all of it.
I want you to hear this clearly: showing up for your parent’s physical comfort in this small, practical way is real caregiving. It’s not a chore. It’s attention. It’s presence. It’s love expressed through something as simple as making sure their feet don’t hurt.
Your parent is lucky to have someone paying this much attention.
The first time will feel a little uncertain. That’s normal. But you’ll finish, look up, and realize — you did it. You kept them comfortable and safe. And next time, you’ll walk in with clippers in hand and not a trace of hesitation.
Have you tried trimming a parent’s toenails at home? What felt most intimidating at first, and what helped you feel more confident? Share your experience in the comments — your perspective might be exactly what another caregiver needs to hear today.