
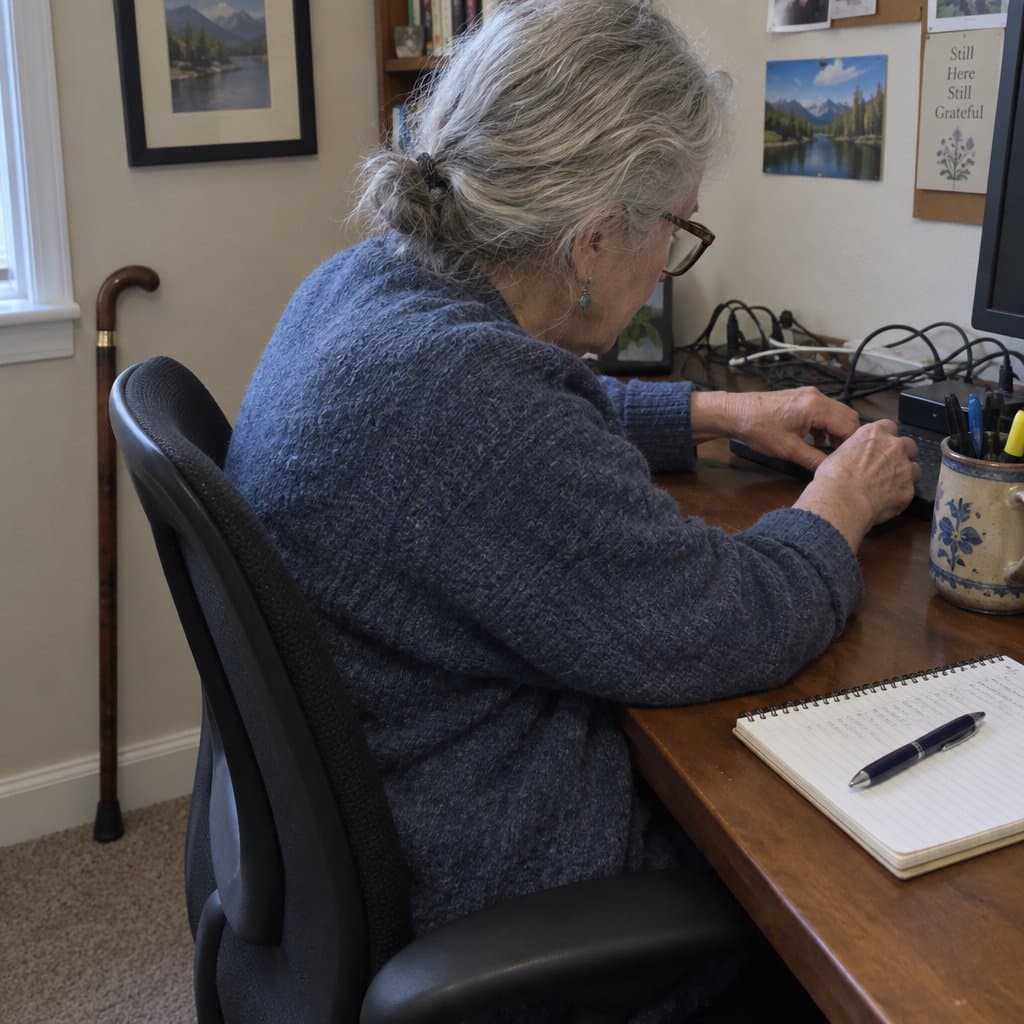
You sit down to check email or video call the grandkids. Thirty minutes later, your neck aches, your eyes feel like sandpaper, and you find yourself leaning forward with your chin jutting out just to read the screen clearly.
Sound familiar? Most people blame their eyes — or their age. And that’s completely understandable. But here’s what I’ve seen time and again helping older adults and their families get comfortable at the computer: the discomfort usually isn’t a vision problem. It’s a desk setup problem.
Three specific things determine whether a computer is comfortable or painful to use — especially for anyone wearing bifocals or progressive lenses: screen height, screen distance, and lighting. Adjusting them doesn’t require expensive equipment or a tech expert. It just requires knowing what to look for.
And the most overlooked culprit of all? The screen is almost always too low. Most desk setups make this mistake by default — and it creates a cascade of problems that feel impossible to trace back to something as simple as where the laptop is sitting.
Comfortable Computer Setup Checklist for Older Adults
Download our free Comfortable Computer Setup Checklist and eliminate neck strain, eye fatigue, and screen discomfort in under an hour using three simple, no-cost adjustments.
Why the Default Laptop Setup Is Working Against You
The Problem Starts with Flat-on-the-Desk Design
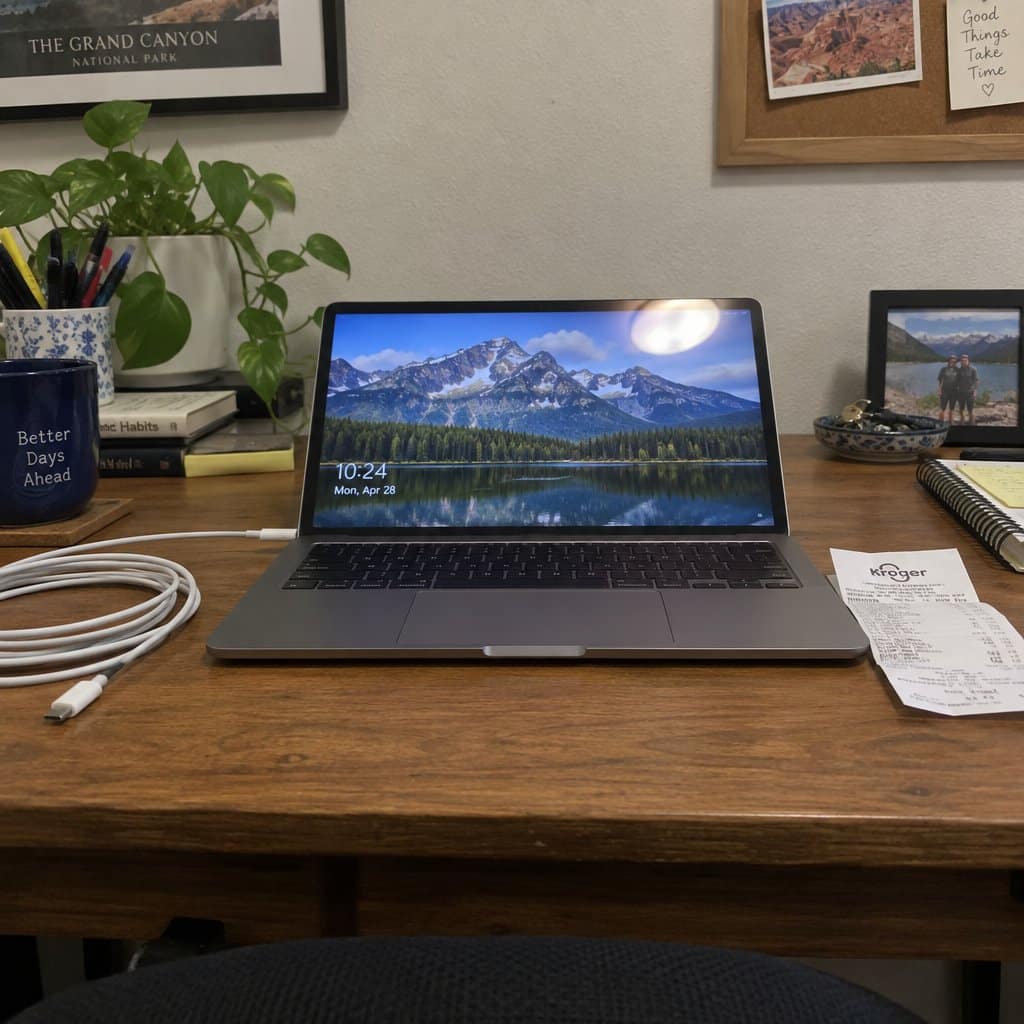
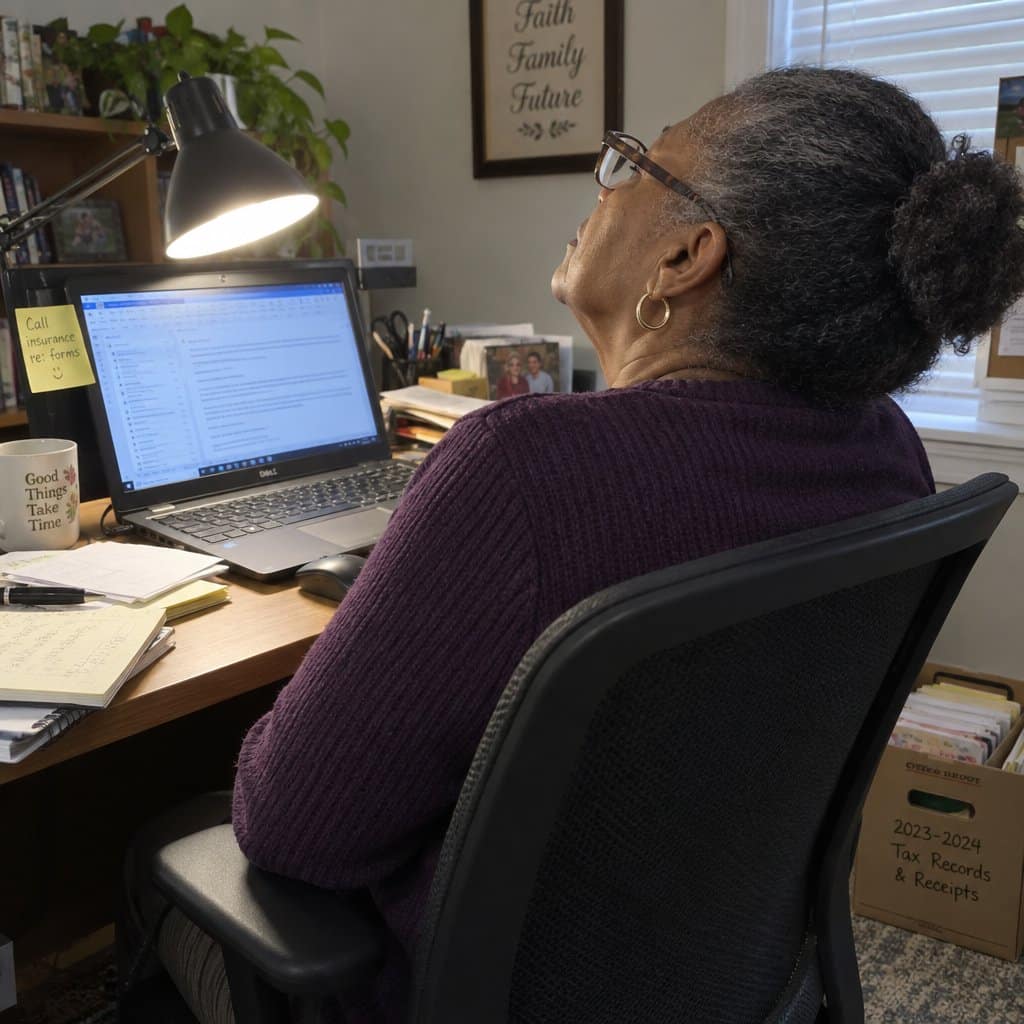
When a laptop sits flat on a desk, the screen typically sits 4–6 inches below where it should be for comfortable viewing. That doesn’t sound like much — but it forces every user to tilt their head downward at an angle that creates real physical strain within minutes.
The Progressive Lens Problem Nobody Talks About
If you or your parent wears progressive lenses or bifocals, this becomes significantly worse. The reading portion of a progressive lens sits at the very bottom of the lens. So when the screen is too low, your eyes instinctively try to use that lower reading zone — which means you tilt your chin down and back to bring the screen into focus through the wrong part of the lens.
The result? A strained, unnatural neck position held for 30, 45, sometimes 60 minutes at a time.
Your Head Is Heavier Than You Think
The human head weighs approximately 10–12 pounds in a neutral position. Every inch it tilts forward effectively doubles the load on the neck and upper spine. That’s not a strength problem or an age problem — it’s pure physics. And it compounds over time, especially as older adults spend more hours at home and at the screen.
The discomfort isn’t a sign that computers aren’t for you. It’s a sign that the screen isn’t in the right place yet — and that’s something you can actually fix.
The First Fix — Getting the Screen to Eye Level


Where Your Screen Should Actually Be
The top of your monitor or laptop screen should sit at or just slightly below eye level when you’re sitting in a natural, upright position. The screen should also tilt back slightly — about 10–20 degrees — so the top is angled away from you just a bit.
That’s it. Two measurements. But most people have never adjusted this and don’t realize how much it changes everything.
A Simple Test You Can Do Right Now
Here’s how to check your current setup without any tools:
- Sit up straight in your chair with your shoulders relaxed.
- Close your eyes and take a breath.
- Open your eyes naturally — don’t look up or down deliberately.
- Where does your gaze land? That’s where the center of your screen should be.
If your gaze lands below your screen, the screen is too high. If it lands above the screen — which is far more common — the screen is too low. Most people are surprised by how much lower their laptop sits than where their eyes naturally fall.
Why Stacking Books Only Solves Half the Problem
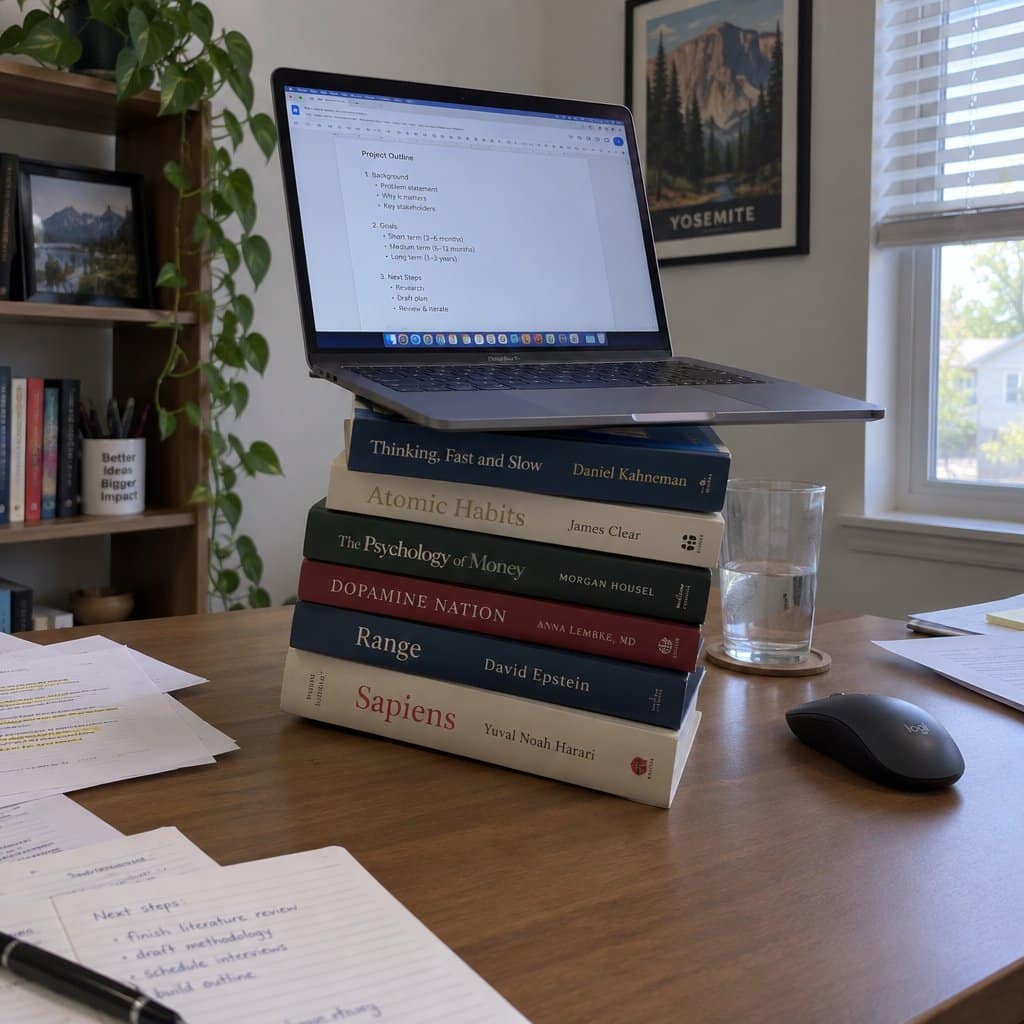
Stacking books under a laptop is a reasonable first step, and it works temporarily. The problem is that books shift, aren’t stable, and don’t let you fine-tune the angle or height easily. For older adults especially, a setup that wobbles or slips creates more problems than it solves.
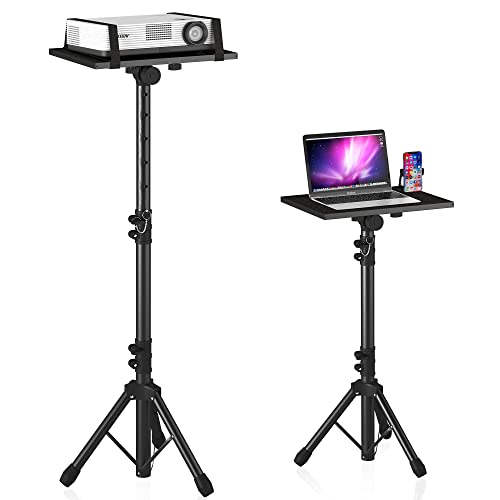
An adjustable laptop stand is the most accessible and affordable permanent solution. It raises the screen to a stable, consistent height — and many models adjust across a range of positions so you can find the exact height that works for your specific chair, desk, and vision setup.
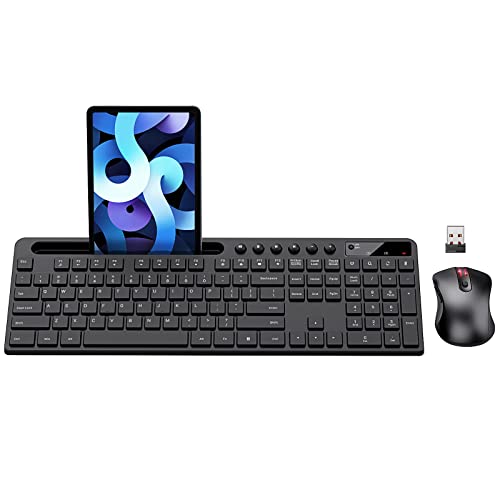
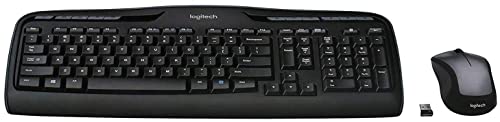
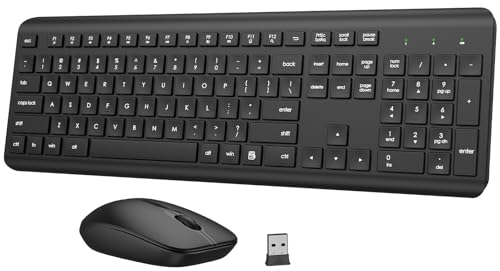
Once the laptop is raised to eye level, the keyboard is now up in the air too — which means you’ll want a wireless keyboard so your hands can rest comfortably at desk level while the screen stays where it needs to be.
A quality ergonomic laptop stand makes this adjustment permanent, reliable, and immediately noticeable. For anyone who spends regular time at the computer, this is the single change I’d recommend first.




Once the laptop is elevated, you’ll want a wireless keyboard and mouse so your hands can stay at a natural, comfortable position while the screen stays up at eye level. A wireless keyboard mouse combo keeps the setup clean, cable-free, and easy to adjust without tangling cords across the desk.




A Note for Progressive Lens Wearers
Getting the screen height right matters even more if you wear progressive lenses. The mid-distance zone of a progressive lens — the zone designed for computer distances — sits in the middle of the lens. When the screen is at the correct eye-level height, your eyes look through that mid-distance zone naturally. When the screen is too low, your eyes drop into the reading zone and your posture follows. Fixing the screen height alone often resolves the “I have to take my glasses off to see the screen” complaint that many progressive lens wearers live with unnecessarily.

The Second Fix — Screen Distance That Works With Your Eyes
The Right Distance Is Farther Than You Think
Most people sit too close to their screens. The general guideline for comfortable viewing is arm’s length away — roughly 20–28 inches from your face to the screen. That’s further than intuition usually suggests.
Sitting too close forces your eyes to work harder to maintain focus over an entire session. That fatigue compounds — which is why the last 20 minutes of a computer session often feels so much worse than the first 20.
The Fix Isn’t Moving Closer — It’s Enlarging the Text
The most common reason people drift closer to their screens is that the text is too small to read comfortably at a proper distance. The solution isn’t to lean in — it’s to increase the text size and display zoom so the screen is readable from where it should be.
Both Windows and Mac have built-in display settings that increase text size without reducing sharpness or quality:
- Windows: Go to Settings → Display → Scale and Layout, then increase the scaling percentage.
- Mac: Go to System Settings → Displays → Resolution, then choose a larger text option.
Moving the screen back and enlarging the text is the right solution — not squinting or leaning forward. It takes about two minutes to adjust and often makes an immediate difference.
Screen Height and Distance Work Together
Correct monitor distance and height aren’t two separate fixes — they work as a pair. A screen at the right height but too close still strains the eyes. A screen at the right distance but too low still strains the neck. Once you’ve adjusted height with a stand, check distance next. Sit up naturally, extend your arm, and see where your fingertips land relative to the screen. If they land past the screen, you’re probably sitting too close.
If your laptop doesn’t have enough ports to connect a stand, keyboard, mouse, and any other accessories at once, a USB hub is a simple way to expand your connection options without replacing any equipment. It plugs into one port and gives you several more — no technical setup required.


Ready to discover more practical solutions for comfortable, independent aging at home? Subscribe to our newsletter for expert-tested tips and product recommendations designed specifically for older adults and the people who care for them.
The Third Fix — Lighting That Supports, Not Fights, the Screen

The Two Lighting Problems That Hurt the Most
Poor lighting is the invisible contributor to screen-related eye fatigue — and it’s the one people least expect. Two specific problems affect older adults at the computer most often:
- Glare from windows hitting the screen — This creates a washed-out, high-contrast view that forces the eyes to constantly compensate.
- Dim ambient light that makes the screen feel blinding — When the room is much darker than the screen, the contrast between the two is exhausting for the eyes to manage.
The Right Balance of Light
The goal is for the ambient light in the room to be roughly as bright as the screen — not much brighter, not much dimmer. When they’re balanced, the eyes don’t have to constantly readjust between looking at the screen and glancing away.
Window position matters too. Windows should be to the side of the screen — not behind you (which creates glare on the screen) and not in front of you (which creates glare in your eyes). A simple chair or desk repositioning can solve this entirely without spending anything.
Why Progressive Lenses Make Glare Worse
The anti-reflective coatings on progressive lenses interact with overhead fluorescent or angled light in ways that can create halos and glare that aren’t as noticeable with standard lenses. This makes the lighting angle especially important for progressive lens wearers — what feels like minor glare to someone else can feel genuinely disruptive.
Where a Task Lamp Helps
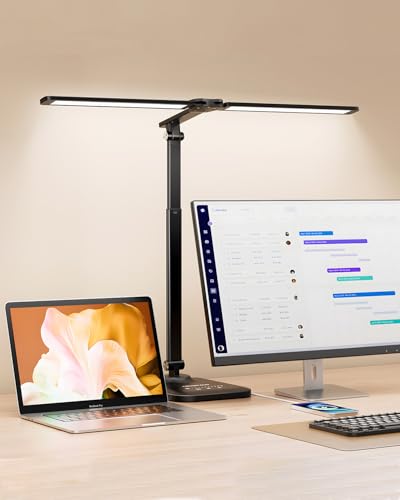
A well-positioned desk lamp fills in shadows and brings the ambient light level up without creating new glare. The key is where you aim it: toward the desk surface or nearby wall, not directly at the screen or into your eyes.
You don’t need to close the blinds and sit in the dark. You just need light coming from the right direction at the right level — and a good adjustable desk lamp makes that easy to dial in.
An LED desk lamp with adjustable brightness and color temperature gives you full control over your light environment without rewiring anything in the room. Warmer color temperatures tend to feel less harsh on the eyes during long sessions, and the ability to dim it means you can match the screen brightness precisely.




Putting It All Together — A Simple Desk Setup Checklist
The Three-Variable Checklist
You don’t need to fix everything at once. Work through these in order — screen height first, distance second, lighting third — and most desk-related discomfort resolves quickly.
- ✅ Screen Height: Top of screen at or just below eye level; screen tilted back 10–20 degrees
- ✅ Screen Distance: Arm’s length away (20–28 inches); text enlarged so you’re not squinting
- ✅ Lighting: Room light roughly matches screen brightness; window to the side; task lamp aimed at desk surface, not screen
A Note for Caregivers Setting This Up for a Parent
If you’re working through this on behalf of a parent — the way someone like Michael might be, researching solutions to bring home and implement — do the final adjustments with your parent in the room and in their chair. The right height and distance depend on their specific posture, their chair height, and how their progressive lenses sit on their face. Don’t just guess and walk away. Set it close, then ask them to sit naturally and look at the screen. Watch where their eyes land and adjust from there. That five-minute conversation makes all the difference.
Laptop Stand vs. Monitor Arm — A Quick Note
A laptop stand is the most accessible and affordable starting point for most people — it raises the screen, works with any desk, and doesn’t require any installation. A monitor arm mounts to the desk and offers more precise positioning control, but it requires a separate monitor and some basic hardware setup. For most older adults and most home desk setups, a quality adjustable laptop stand paired with a wireless keyboard is the right first step. You can always expand from there.
For readers curious about how technology choices fit into the broader picture of staying comfortable and connected at home, this guide on whether a laptop or tablet is the better fit for seniors is worth a look — the right device matters as much as the right setup.
Comfortable Computer Setup Checklist for Older Adults
Download our free Comfortable Computer Setup Checklist and eliminate neck strain, eye fatigue, and screen discomfort in under an hour using three simple, no-cost adjustments.
You’ve Probably Been Blaming the Wrong Thing
Think back to that familiar scenario: sitting down to check email or video call a grandchild, only to end the session with a stiff neck, tired eyes, and the quiet assumption that this is just what computers feel like at this stage of life.
It doesn’t have to be. Screen height, screen distance, and lighting explain the vast majority of that discomfort — and adjusting all three is within reach for almost anyone, without replacing furniture or spending a lot of money.
Getting the screen to eye level alone often resolves neck pain that people have accepted as normal for years. I’ve seen it happen in home after home. It’s one of those rare adjustments that pays off immediately and keeps paying off every single day.
Start with the eye-level test from Section 2 — today, before buying anything. Sit up straight, close your eyes, open them, and notice where your gaze naturally lands. If your screen is obviously below that point, you’ve found your starting place.
And if you’re exploring other ways to make the home more comfortable and connected, the guide to the best tablets for seniors and this overview of senior-friendly computer keyboards are natural next steps. For anyone supporting an older adult in staying safely independent at home, the broader must-have products for elderly people living alone is a useful companion resource.
What did you discover when you tried the eye-level test? Did the screen end up being lower than expected? Share what you found — or what adjustment made the biggest difference — in the comments below. Your experience might be exactly what someone else needs to hear today.