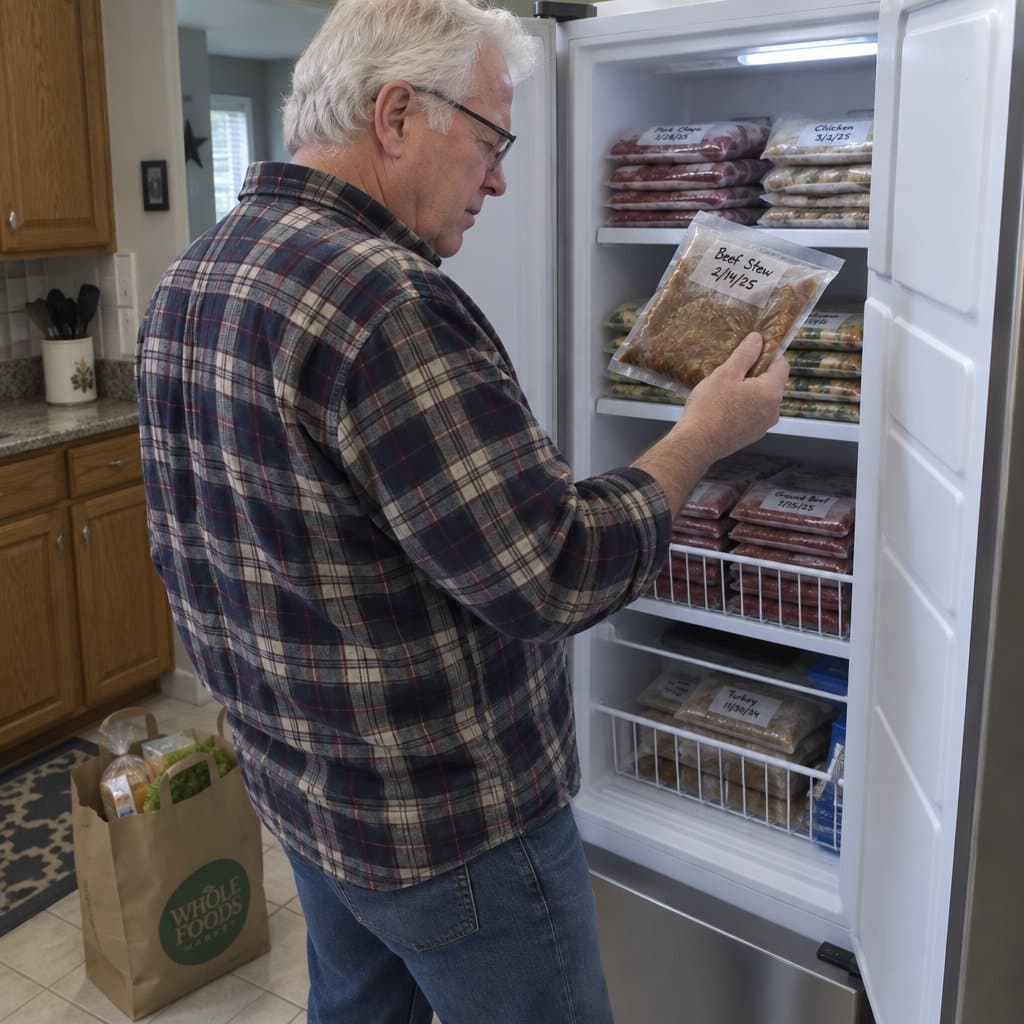
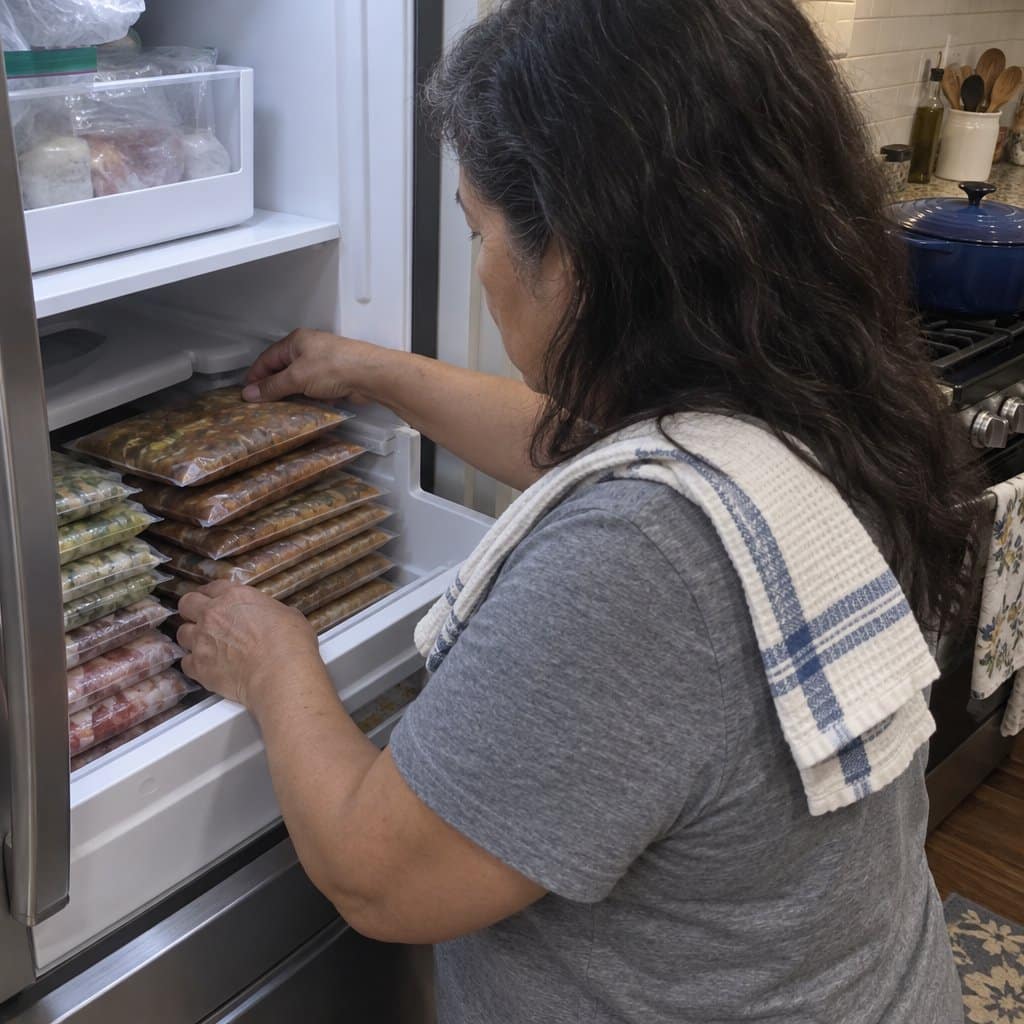
You spent three hours on Sunday making a week’s worth of meals for your mom. You labeled everything, stacked the containers neatly, and felt genuinely good about what you’d done.
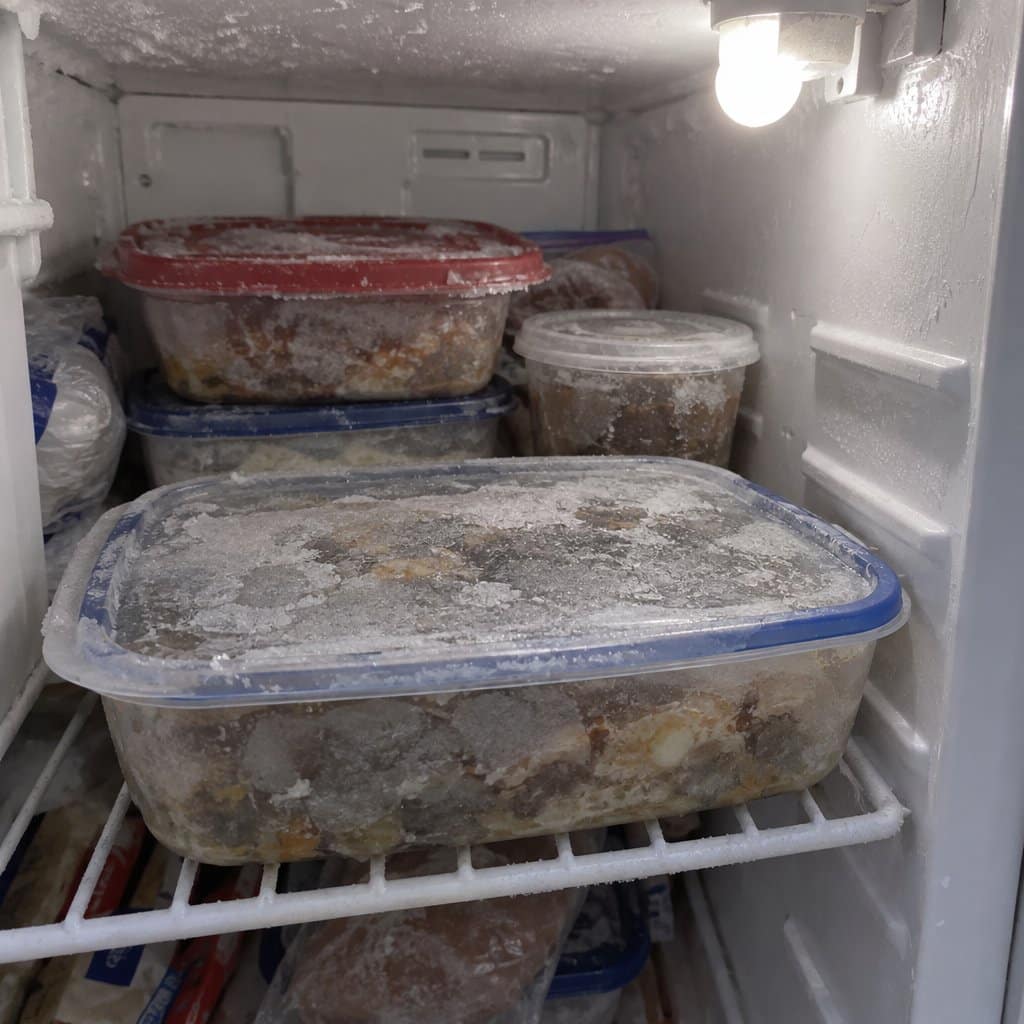
Then you stopped by the following Saturday and found most of it untouched. The casserole had gone gray with freezer burn. The soup portion was so large she’d only eaten half and left the rest sitting in the fridge. And that container you’d carefully sealed? Still sealed — because she couldn’t get the lid off.
Batch-cooking for a parent is one of the most practical, loving things an adult child can do. And it’s genuinely demoralizing when it falls apart in ways no one warned you about.
This article lays out a complete freezer meal preparation system built around the three specific failures that derail most caregivers’ best efforts: freezer burn, wrong portions, and packaging that defeats arthritic or weakened hands. Each failure has a specific, fixable cause. Once the system is set up correctly, it largely runs itself.
Freezer Meal System Checklist for Caregivers
Download this complete freezer meal checklist to build a batch-cooking system that eliminates freezer burn, fits arthritic hands, and gives your aging parent the independence to choose and reheat their own meals—without wasting time, money, or food.
Why Most Freezer Meal Efforts Fail (and Why It’s Not Your Fault)
The three failures you’re hitting — freezer burn, oversized portions, and inaccessible containers — aren’t signs that the idea is flawed. They’re signs that most freezer meal advice was written for households, not for a single older adult with specific physical and appetite needs.
Generic meal prep content assumes you’re feeding a family of four, cooking for a week at most, and storing food in containers that active adults can open without thinking twice. None of those assumptions apply to your situation.
The mindset shift that makes this work: you’re not building a meal prep routine for yourself. You’re building a system your parent can interact with independently — one that gives her consistent, familiar food without requiring her to call you every time she’s hungry.
This isn’t about cooking harder or more often. It’s about building the system once so it works every time without constant troubleshooting. Here’s where to start.
Failure #1 — Freezer Burn Is Destroying the Food Before It’s Eaten


What’s Actually Causing It
Freezer burn isn’t random bad luck. It’s predictable: when air contacts the surface of frozen food, it pulls moisture out and oxidizes the exposed tissue. The result is that grayish, leathery texture that makes food genuinely unpleasant to eat.
Standard zip-lock bags and loosely sealed containers trap air against the food by design. That’s fine if you’re eating something within two or three days. It’s a real problem when food sits in a freezer for two to four weeks — which is the realistic window for most batch-cooking caregivers.
The Fix: Remove the Air at the Storage Stage
Vacuum sealing removes the air that causes the problem. It’s one extra step at the point of storage, and it changes the entire math of how far a single batch-cooking session goes.
Here’s the practical comparison: a casserole stored in a loosely sealed container typically develops freezer burn within two weeks. The same casserole vacuum sealed can stay in good condition for six to eight weeks. That means you can cook less frequently and still ensure your mom has fresh-tasting food when she reaches for it.
What Vacuum Seals Well (and What Doesn’t)
Most batch-cooking staples vacuum seal beautifully:
- Soups and stews (freeze flat in bags for easy stacking)
- Casseroles and baked pasta dishes
- Cooked proteins — chicken, fish, ground beef
- Cooked grains like rice or barley
- Soft vegetables and roasted root vegetables
Skip vacuum sealing for anything with delicate leafy textures or high water content that doesn’t freeze well regardless of packaging.
Making It Practical Without a Full Countertop Unit
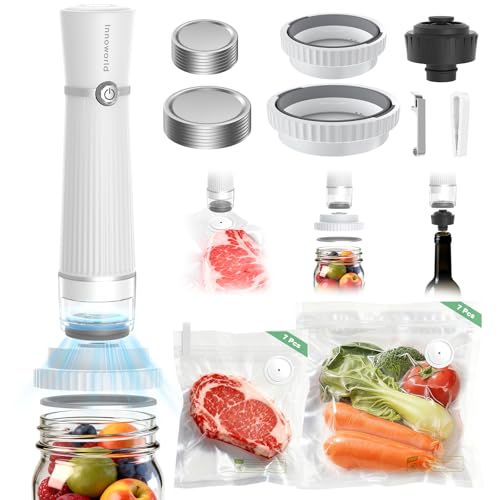
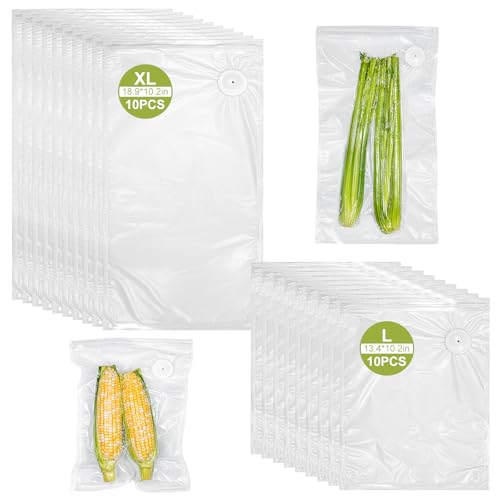
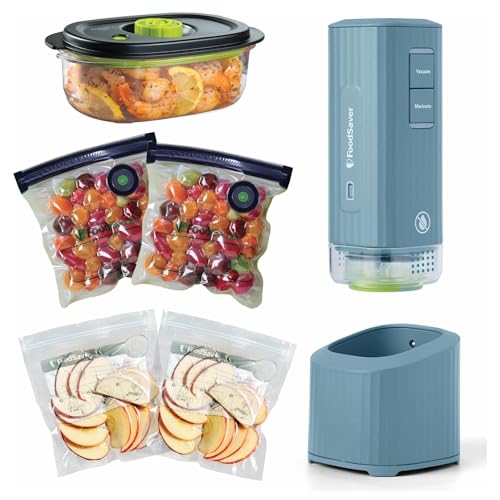
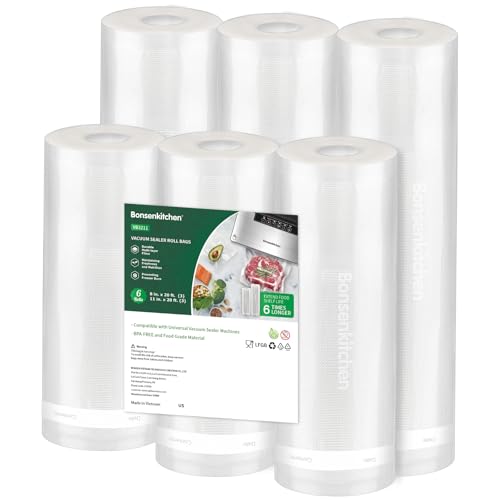
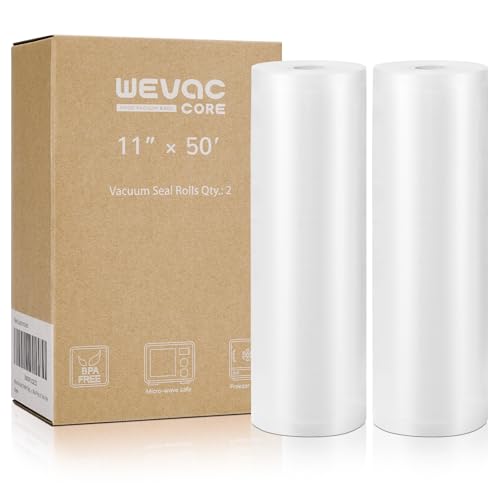
A countertop vacuum sealer works well for high-volume batch cooking, but it’s not the only option. A handheld vacuum sealer does the same job with a much smaller footprint and lower upfront cost — practical when you’re batch-cooking in a regular home kitchen, not a commercial one. It works with compatible vacuum seal freezer bags, which become the standard consumable in your system: inexpensive per meal, and the component that actually does the work of keeping air out.


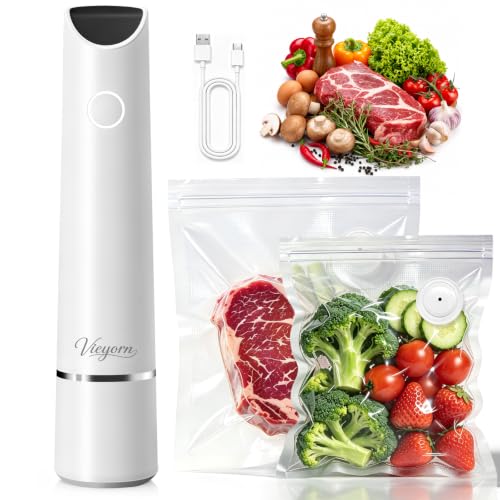


Vacuum seal freezer bags are what make this system repeatable. They’re single-use, but at the cost per bag, they’re far cheaper than the food you’d otherwise throw away.




Action Point
Make vacuum sealing a standard, non-optional step in your storage process — not something you do when you remember. Build it into the sequence the same way you build in labeling.
Failure #2 — Portions Are Too Large for One Person to Finish




Why Portion Size Is Both a Food Safety and a Dignity Issue
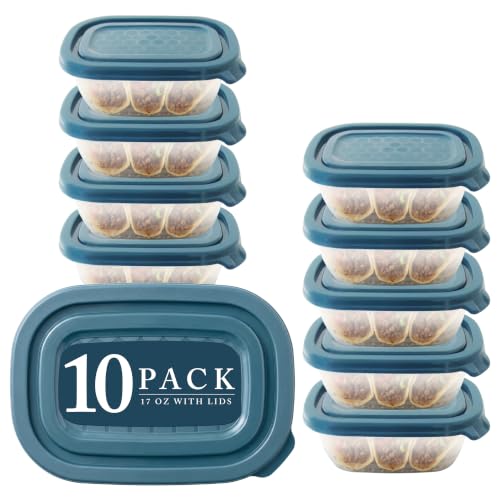
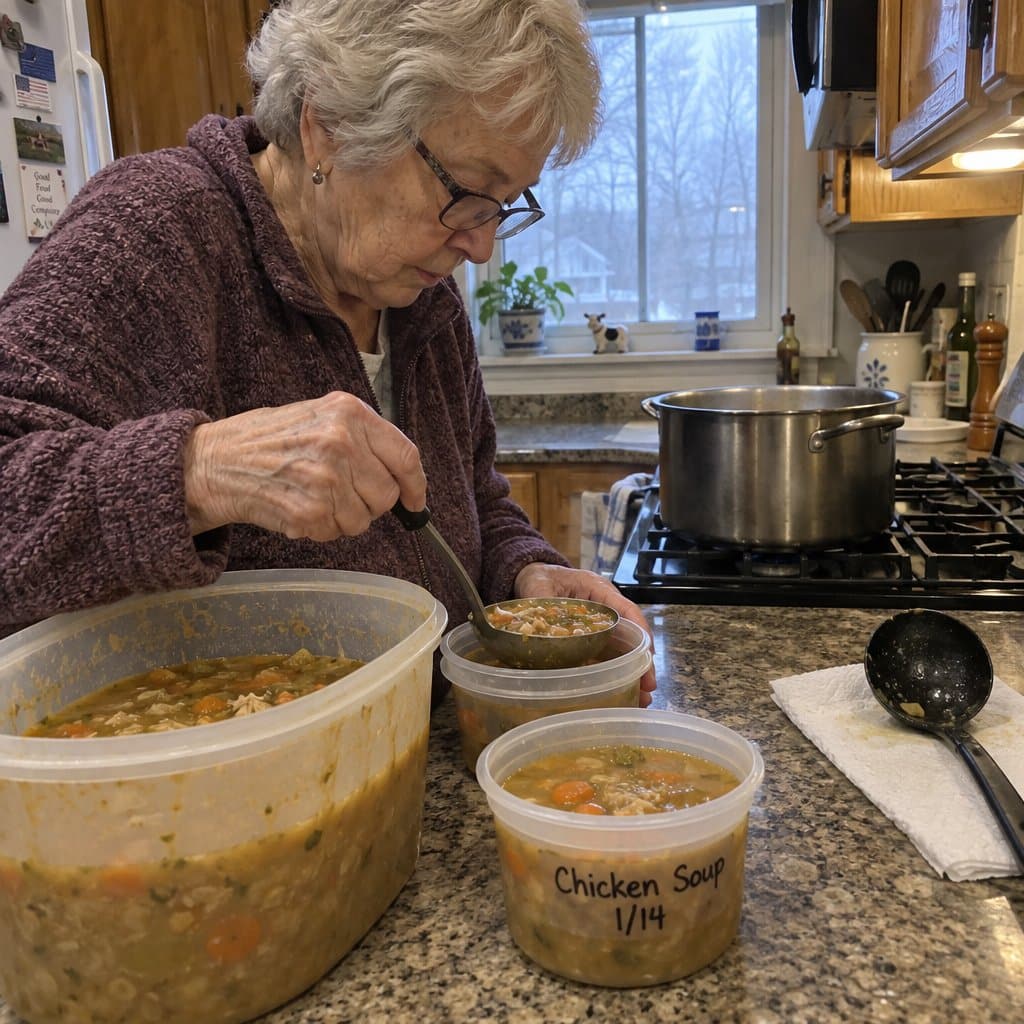
Most batch-cooking naturally defaults to family-sized portions. When a single older adult is eating from those portions, she either eats more than she wants to avoid wasting food, or she puts the rest in the fridge — where it sits until it’s no longer safe.
There’s also an emotional dimension here worth naming briefly: many older adults feel genuinely guilty about wasted food. Leaving half a meal uneaten isn’t neutral for her — it carries weight. Appropriately sized portions remove that guilt entirely.
Recalibrating for One Person
Appetites typically decrease with age. A portion that felt modest at 50 may be exactly right — or even generous — at 78. If you’re basing your portions on what you’d eat, you’re likely overshooting.
A practical starting point: aim for portions roughly 20–30% smaller than what you’d consider a standard adult serving. Then pay attention to what comes back untouched. The first few weeks of feedback will tell you more than any general guideline can.
The Two-Format Approach
I’ve found it useful to freeze meals in two formats within the same batch:
- Standard single servings — for days when appetite is normal
- Half portions — for lower-appetite days, or for pairing with something simple from the fridge
This gives your mom flexibility without requiring her to split a portion herself — which can be physically awkward and often results in the other half sitting in the fridge anyway.
Labeling That Works at a Glance
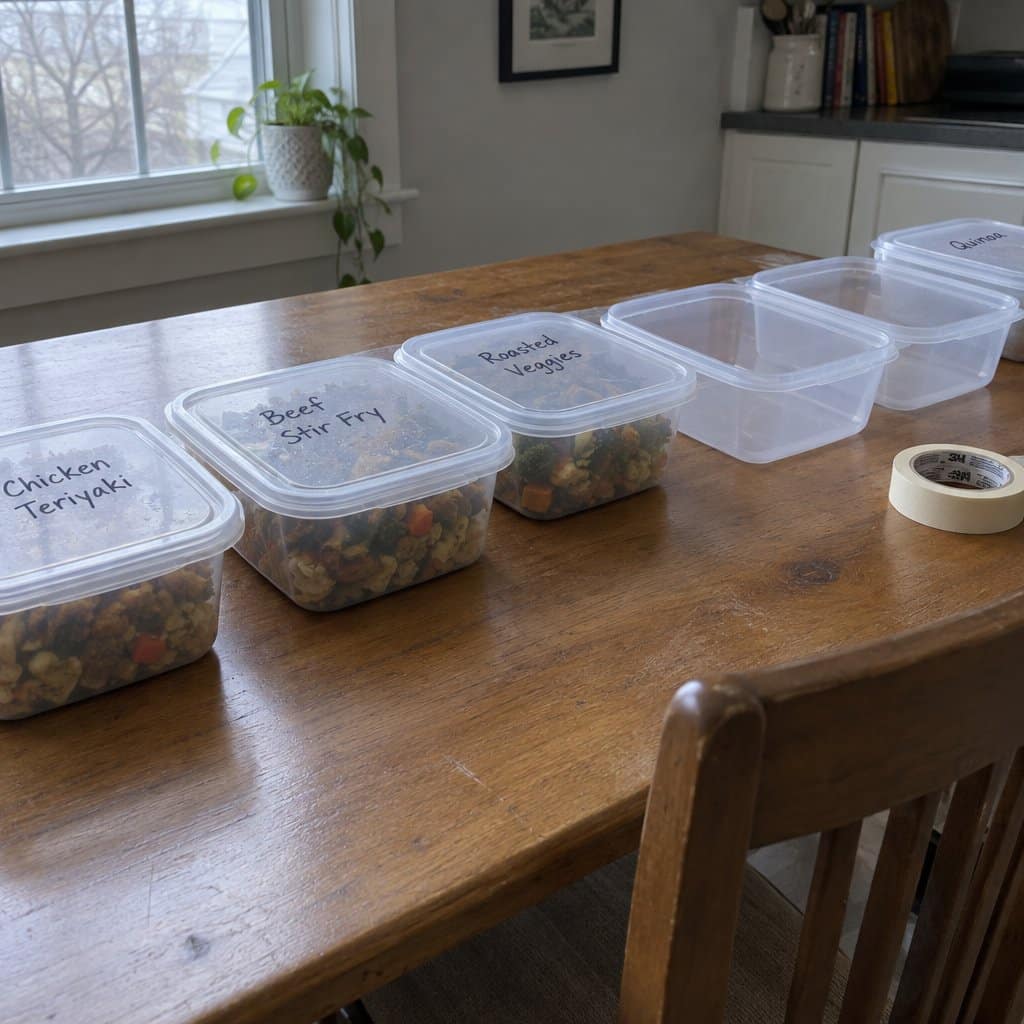
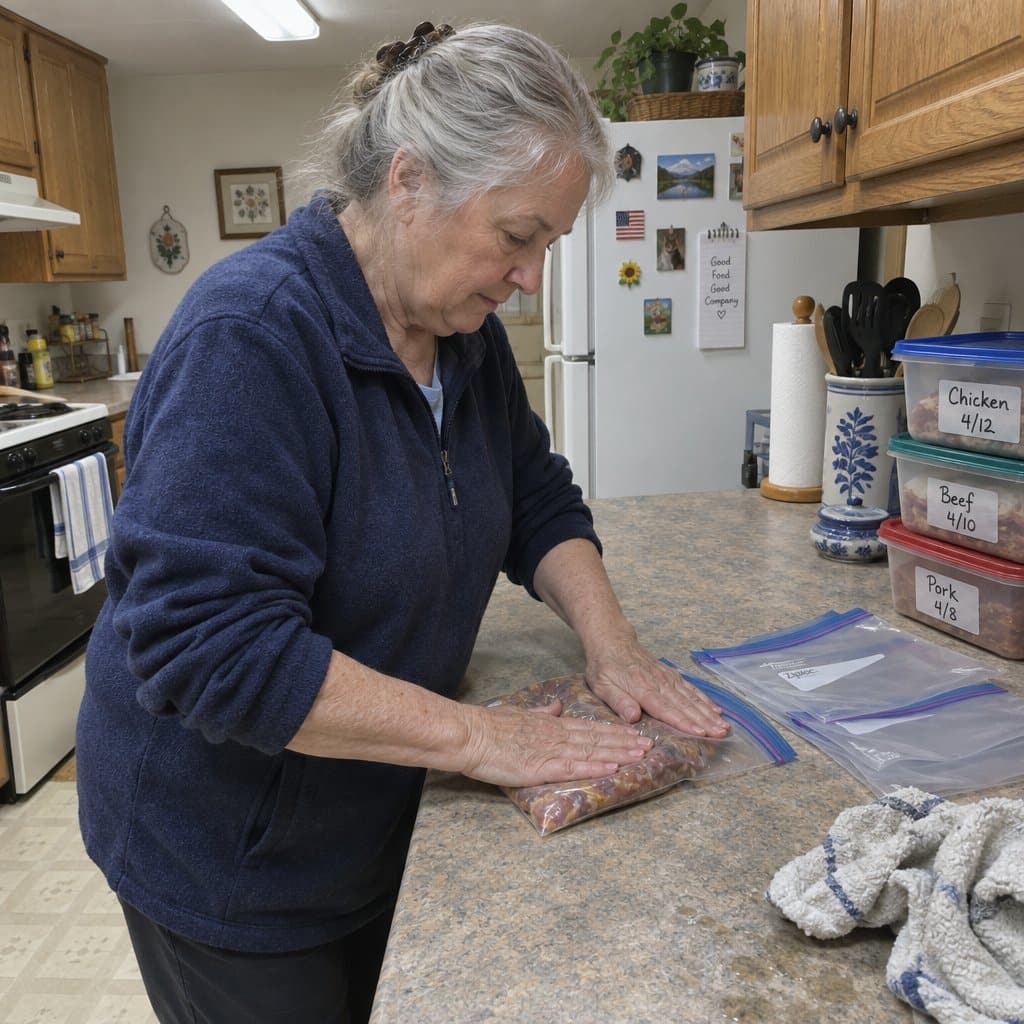
Every bag or container needs four things on the outside, in large print:
- Meal name (descriptive — “chicken soup” not “meal 3”)
- Date frozen
- Portion note (full / half)
- Simple reheating instruction (“microwave 3 min, stir, 2 more min”)
Small-print labels don’t get read. Write large, write clearly, and make the reheating instructions specific enough that she doesn’t have to guess.
Action Point
When packaging, divide each batch into individual servings before sealing — never seal by the half-recipe. Smaller individual portions also mean less air space inside each bag, which reinforces the freezer burn prevention from the previous step.
Subscribe to our newsletter for more tips: Join here
Failure #3 — Your Parent Can’t Open the Containers You’re Using


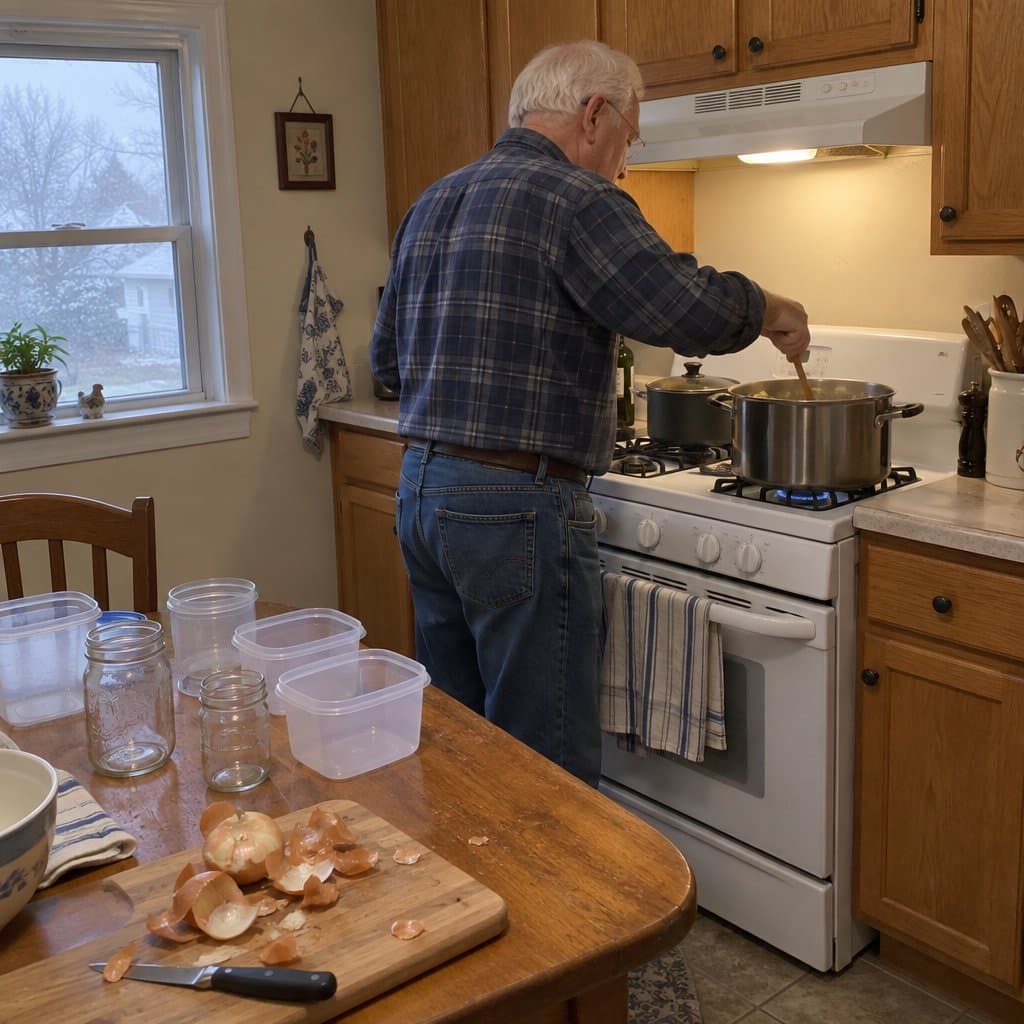
Your Mom Isn’t Being Difficult — The Container Is
Standard snap-lid containers and twist-off lids are genuinely difficult for hands affected by arthritis, reduced grip strength, or reduced fine motor control. This isn’t stubbornness or inattention. The mechanics of those lids require both force and precision, and hands that don’t have either can’t compensate.
A meal your parent can’t access independently might as well not exist. If she’s leaving food untouched in the fridge because she doesn’t want to ask for help opening it — and that’s exactly what happens — the system has already failed, regardless of how well the cooking went. For more on how reduced grip strength affects daily independence, this guide on kitchen utensils for arthritic hands covers the problem well.
What to Look for in Containers That Actually Work
Test every container in your system before committing to it — specifically, have your parent try to open it cold, with hands that haven’t been warmed up. If she can’t open it comfortably on the first try, it’s the wrong container.
Features that make a real difference:
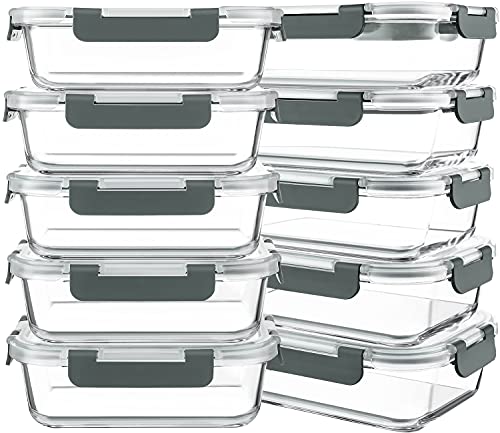
- Wide, rigid pull tabs that don’t require fingernail dexterity
- Flip-top or squeeze-and-lift lid mechanisms
- Minimal resistance — lids that seal firmly but release without force
- Microwave-safe material so food can be reheated in the same container (eliminating the transfer step)
When Bags Beat Rigid Containers
For some parents, vacuum-sealed bags are actually easier to work with than rigid containers — especially if you cut the top edge partially before delivering them. That removes the opening challenge entirely while maintaining freshness until she’s ready to use it. She tears along a pre-started cut rather than fighting a lid.
It’s a small preparation step on your end that preserves her independence on hers. That’s the trade worth making.
Choosing Containers With Older Adults in Mind
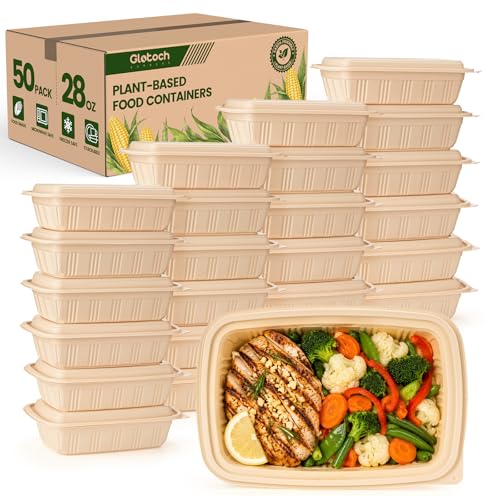
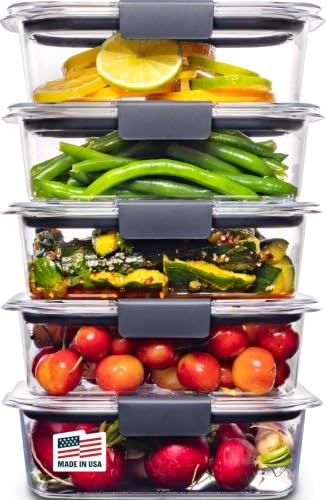
Easy open food containers designed with wide tabs and minimal resistance lids make a practical difference for parents dealing with arthritis or weak grip — and they’re widely available as standard meal prep containers rather than specialty medical products.


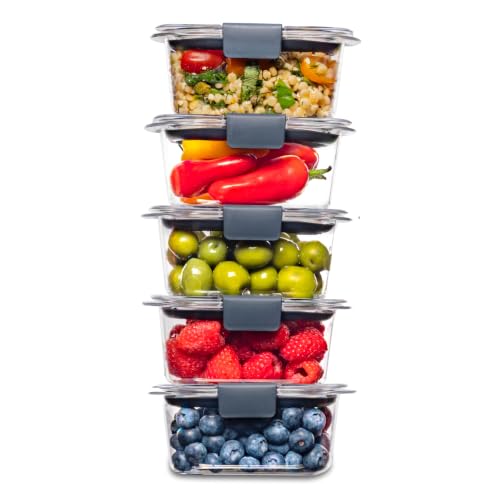


Meal prep containers that go directly from freezer to microwave without transferring food reduce the number of steps required — and fewer steps means less opportunity for spills, burns, or frustration.



Action Point
Before your next batch-cooking session, test your current containers with your parent present. One cold-grip test tells you more than any product description can. If something doesn’t pass, replace it — the container is a functional part of the system, not an afterthought.
Putting the System Together (One Sunday, Then Repeat)
The Sequence
Once the three failure points are addressed, the system itself is straightforward:
- Cook in bulk — a 4–6 meal rotation that reheats reliably and is easy to eat without significant cutting or manipulation
- Portion into single servings before sealing — both full and half portions within each batch
- Vacuum seal individual portions — one bag per serving, air removed
- Label immediately — large print, meal name, date, portion size, reheating instructions
- Deliver on a weekly or biweekly rotation — refilling the freezer before it runs low rather than waiting until it’s empty
Building a Small Freezer Inventory
The goal is a two-to-three week buffer — enough variety that your mom isn’t eating the same thing three days in a row, and enough quantity that a missed cooking weekend doesn’t leave her without options. With vacuum sealing extending shelf life to six to eight weeks, you have real flexibility in your schedule.
A reliable rotation might include: a protein-based soup, a soft casserole, a grain-based dish, a protein with roasted vegetables, and one or two items she specifically requests. Soft, easy-to-chew foods are worth prioritizing — this guide on soft foods for elderly adults offers practical meal ideas across every category.
Checking In Without Making It a Production
A quick weekly call or visit to confirm what was eaten — and what wasn’t — gives you the feedback to refine the system. If the chicken soup is consistently coming back half-eaten, you adjust the portion. If she’s asking for the pasta bake every week, you make it every week.
This check-in also does something less tangible: it reduces the guilt cycle on both sides. You’re not guessing whether the food is working. She’s not feeling like a project. It’s just a conversation.
Action Point
Run one complete batch-cooking session using this system before evaluating anything. The first week of real feedback will tell you exactly what to adjust — portion sizes, meal choices, container preferences. You can’t optimize a system you haven’t run yet.
Freezer Meal System Checklist for Caregivers
Download this complete freezer meal checklist to build a batch-cooking system that eliminates freezer burn, fits arthritic hands, and gives your aging parent the independence to choose and reheat their own meals—without wasting time, money, or food.
The Goal Was Never Just the Food
The three failures — freezer burn, wrong portions, inaccessible containers — each have a specific fix. Once those fixes are built into your process, the system becomes reliable rather than a source of ongoing frustration.
But I want to name something that goes beyond the logistics. What you’re building here isn’t just a food delivery system. It’s the infrastructure for your mom’s independence. She opens her own container. She chooses her own meal. She reheats it herself and sits down to eat without waiting for anyone.
That matters. The right tools and systems for older adults living alone consistently come back to the same principle: independence preserves dignity, and dignity matters as much as nutrition.
If you’re already batch-cooking and hitting one of these walls, start there. Fix the one failure point you recognize most from your own experience, run the system again, and see what changes. You don’t have to rebuild everything at once.
What’s been the biggest stumbling block in your own freezer meal system? Share it in the comments — your experience is exactly the kind of real-world detail that helps other caregivers skip months of trial and error.