It’s the first cold morning of the season, and you step out to get the mail. The walkway looks just like it did in July, but wet leaves and frost change what a small crack or a loose handrail can do.
This home exterior fall audit covers 10 spots you can check in about 20 minutes. We’ll look at why outdoor falls send so many older adults to the ER, garden borders, stepping stones and hoses in the backyard, reflective tape, solar lights and non-slip strips for level changes, and monthly checks, family help and a plan for working outside alone.
Home Exterior Fall Audit Checklist: 10 Spots Before Winter
Download this printable 10-spot home exterior checklist to identify fall hazards around your property in just 20 minutes, so you can make simple fixes now and age safely at home all winter long.
Start at the Front: Entry Steps and Handrails Are Your First Priority
The front entry is the most-used exterior transition point on any property, and one of the most likely places for an outdoor fall.
Two quick tests will tell you whether yours is ready for winter.
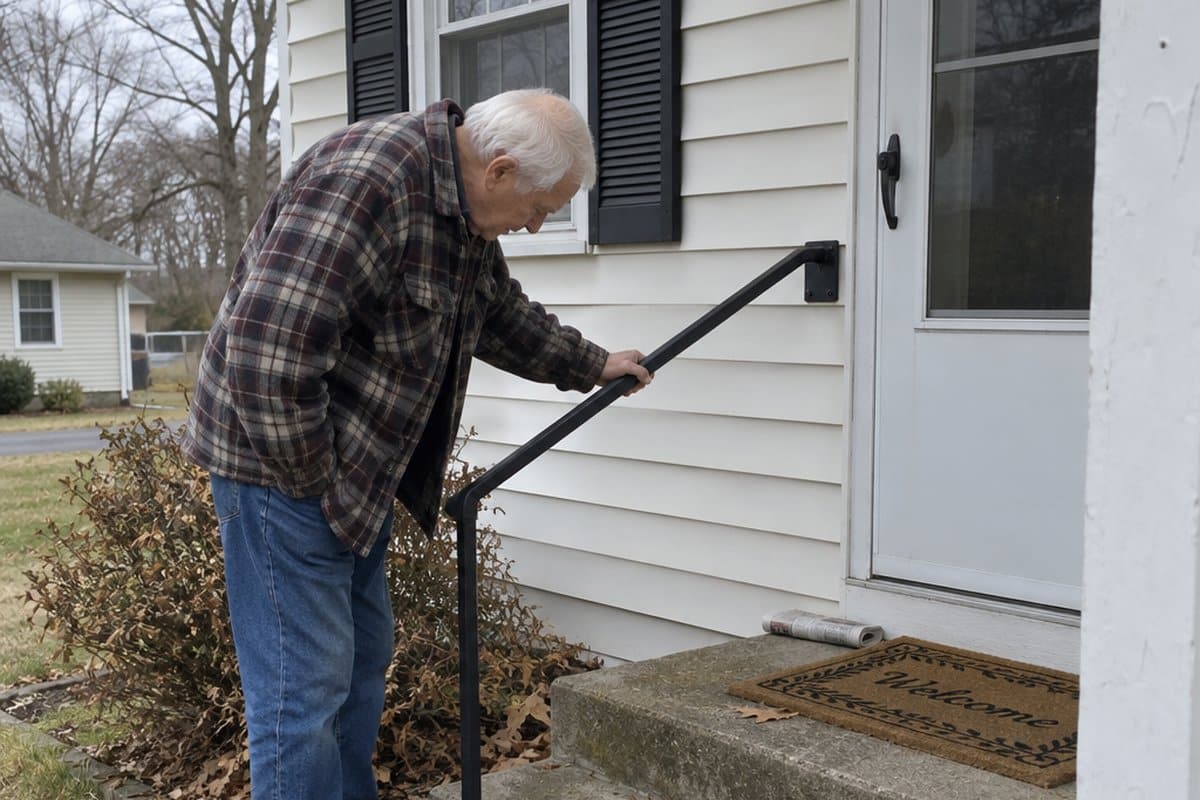
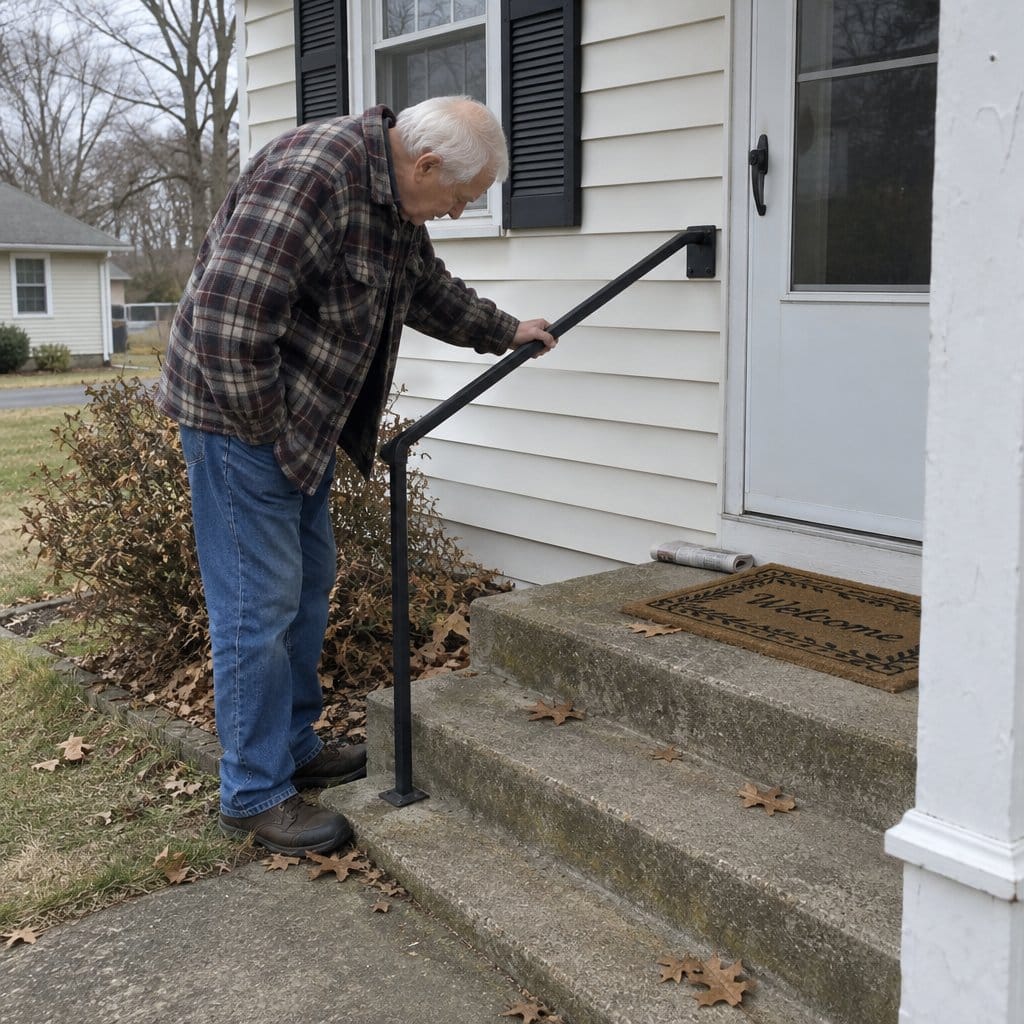
The full-body-weight handrail test: Don’t just touch the rail. Grip it and lean your full body weight against it. If it shifts, wobbles, or feels uncertain at the wall mount, it needs reinforcement before the first frost. A rail you grab lightly every day may have been gradually loosening for months without you noticing.
The step height check: Steps higher than 7 inches create a meaningful trip hazard, especially when carrying groceries, mail, or packages, or when light is low in the early morning.
The threshold lip check: Look at the metal or wood strip where your front door meets the entry surface. A raised lip higher than ¾ inch is a common trip hazard that’s easy to miss because you’ve stepped over it thousands of times. If your lip is over that height, a threshold ramp or transition strip can smooth it out so your foot doesn’t catch.
If the handrail fails the weight test, flag it for repair before the first freeze. If you are not comfortable installing a handrail yourself, ask a handyman or a family member to do it, since a handrail has to hold your full weight.


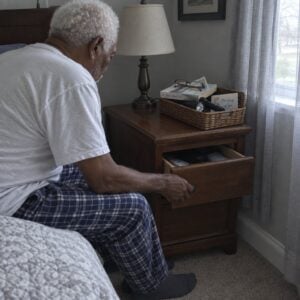
If you’re interested in how indoor transitions tie into your overall fall risk picture, this guide on bedroom fall prevention covers the same principle applied to nighttime movement: how familiarity hides hazards until conditions change.
Why Outdoor Falls Are Worth Taking Seriously
Falls send far more older adults to the ER each year than most people expect. The CDC has figures if you want to look.
Uneven surfaces and changes in height cause many outdoor falls. Think of the single step down to the patio, a raised garden bed border, or the small bump where the sidewalk meets the grass.
Summer is a busy time for backyard falls because people spend more time outside. If you are reading this in the fall, the same spots are still waiting for you.
The familiarity trap
The bigger problem is a false sense of safety in your own space. You see the same hazards every day, so your brain stops noticing them.
That is why many people are shocked to fall somewhere they have walked safely for years. Medications that affect balance, vision changes that make depth harder to judge, and lost muscle strength can add to the risk.
What to look for
A decorative border between a flower bed and walkway can create a 2-inch step that catches a toe. Stepping stones that sit unevenly are another culprit.
Watch for places where two surfaces meet: patio to deck, grass to gravel, or an outdoor rug on bare concrete. Garden hoses across a path, moved furniture and new plantings can also get in the way. Clearing a path for outdoor furniture helps.
A simple way to check
Put on the shoes you usually wear outside and walk every route you use. Notice any moment you lift your foot higher, step down or catch your balance. Run your hand along edges to feel for height differences, and look for loose stones, settled soil and roots pushing up a walkway.
Then walk the same routes at dusk, dawn and evening to see whether you can clearly make out every step.
Fixes worth making
- Reflective tape on step edges and the borders of raised beds.
- Solar pathway lights along your most-used routes and near any change in height.
- Adhesive non-slip strips, which add texture to concrete, wood and stone. The non-slip surfaces guide explains what to look for.
- A grab bar or short handrail at every change in height, even a single step. My stair safety guide covers securing steps in more detail.
Keep in mind that a fix only helps if it stays in place. Tape wears and handrails loosen, so check them again from time to time.
Driveways and Walkways: How to Tell Which Cracks Are Actually Dangerous
Not every crack in your driveway or walkway needs to be repaired. But knowing which ones are genuinely dangerous is a skill worth having before winter.
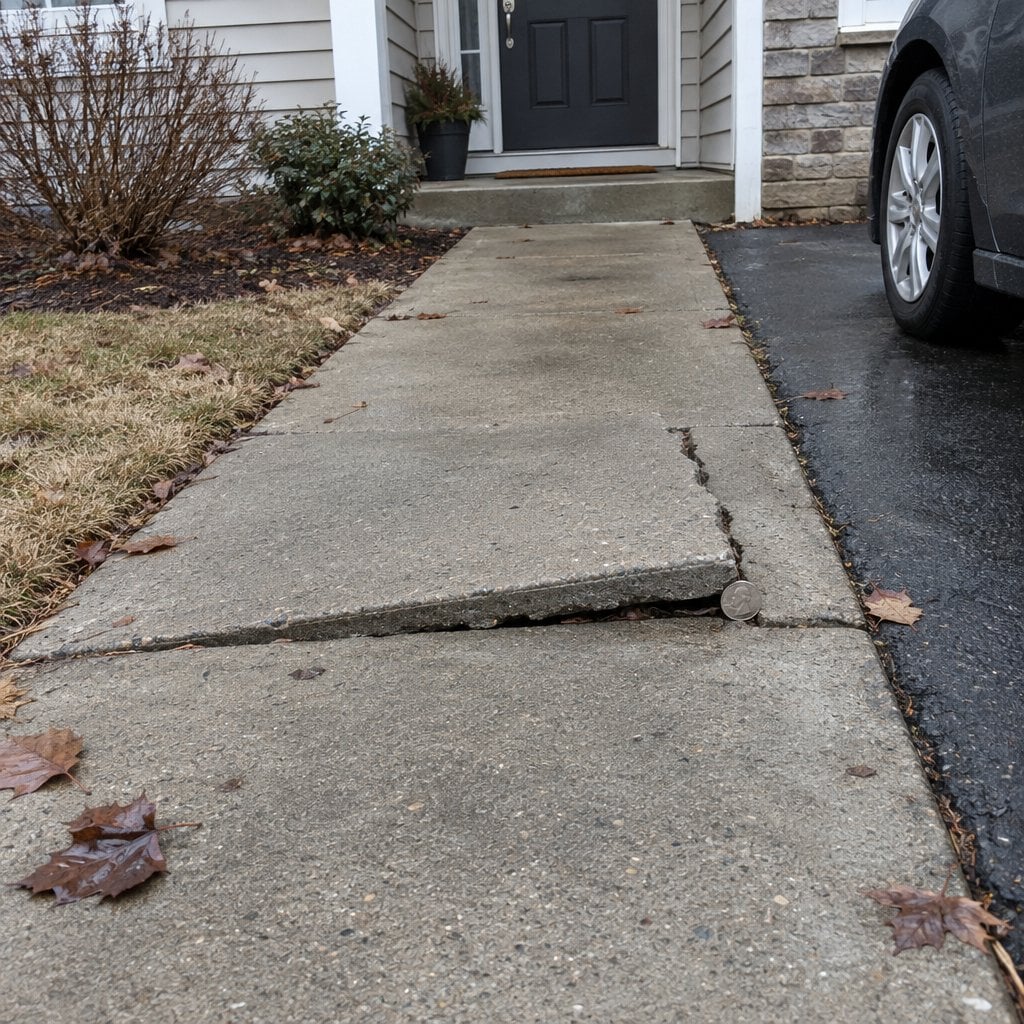
The coin test: Place a quarter upright in the crack or slide it beneath a raised pavement edge. If it fits, that crack or edge is a trip hazard, not just cosmetic. Raised slab edges where sections have shifted are often more dangerous than cracks themselves.
Walk the daily route deliberately: Identify the path from your car door to your home entry. This route is walked many times a day, often in a hurry or with hands full, which is exactly when a lifted edge catches a foot.
Mark problem areas now: Before leaves drop or light snow arrives, mark any hazard spots with bright tape or spray-painted rings. Hazards you can see clearly today will be invisible under wet foliage in October.
Taking a slow walk like this fits with the bigger picture of how an unsafe home affects a senior’s brain and body over time. Small, constant friction points add up in ways most people don’t connect until something happens.
Lighting the Path: The 4 Spots Where Darkness Creates the Most Risk
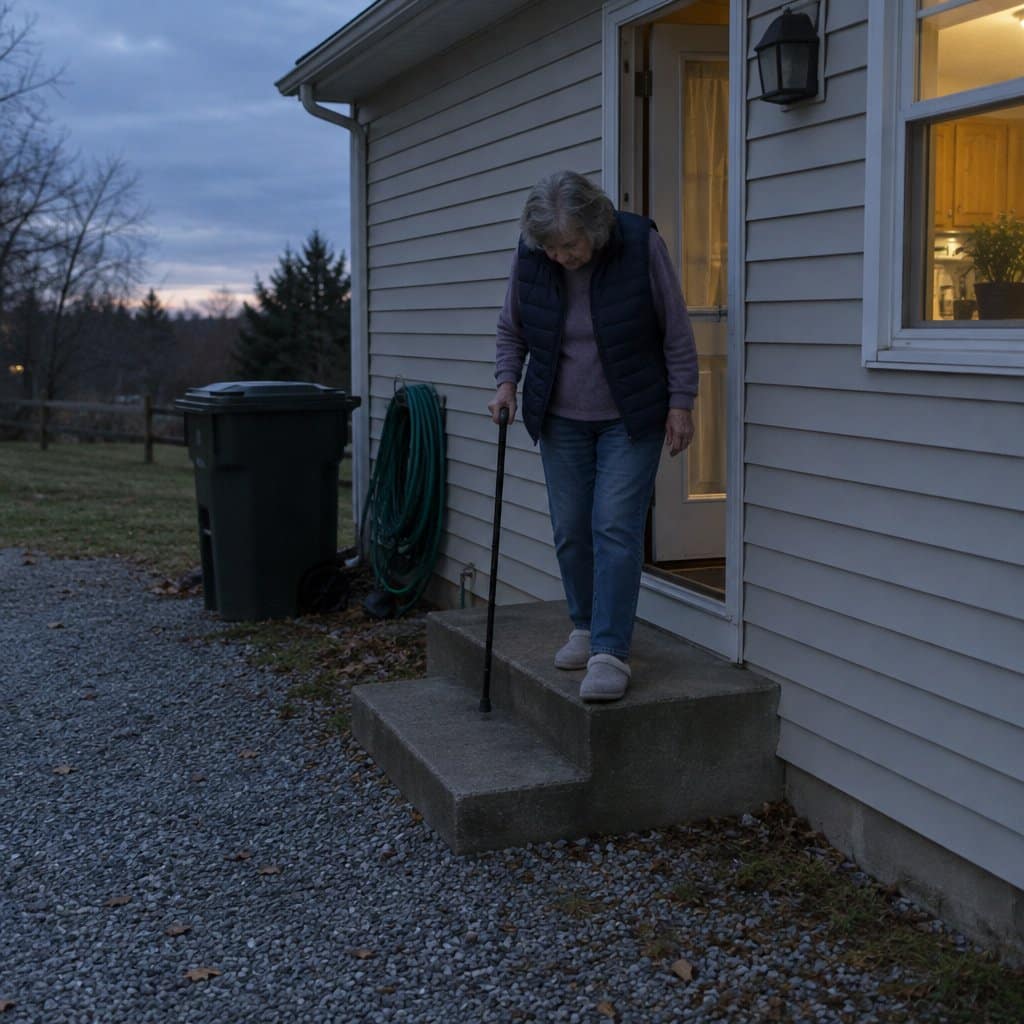
After-dusk trips outside don’t decrease in winter. They just happen in worse conditions. Darkness arrives earlier, surfaces are wetter, and the margin for error shrinks.
Four specific zones need reliable lighting before winter shortens the days:
- Front entry steps: the most-traveled transition, especially in early mornings and after dinner
- The path to the mailbox: a habit trip done quickly, often in light footwear
- The driveway apron or garage threshold: a brief transition that’s easy to rush
- Any side door used regularly: these are often the least-lit and most forgotten
Test existing fixtures this week: A bulb that was dim but “good enough” in July is a genuine hazard in December. Walk the four zones after dark and note anywhere the footing feels uncertain.
Solar-powered pathway lights are an easy, no-electrician solution that can be installed in an afternoon. Motion-activated options turn on exactly when someone approaches, with no switches and no timers.


Want more practical home safety guidance delivered every week? Subscribe to the Graying With Grace newsletter for practical tips on staying safe at home, written for older adults and the families who care about them.
If you’ve already addressed indoor lighting and want to see how fall prevention fits into a broader daily routine, balance training for fall prevention is a good next read, because better balance makes every other safety measure more effective.
Reflective Tape, Solar Lights and Non-Slip Strips for Level Changes
Three simple products do most of the work of making a change in height easy to see and a surface easy to grip. None of them needs a contractor.
Reflective marking tape is weather-resistant and shows up even in low light. Put it on step edges, on the borders of raised garden beds, and anywhere a surface changes height.
Solar pathway lights come on by themselves as daylight fades. Modern ones are bright enough to show surface changes and obstacles, so set them along the routes you walk most and near any step or rise.
Adhesive non-slip strips work on concrete, wood and stone. They add texture so your feet keep their grip, even when dew or rain has made the surface wet.
If you want more ideas that use things you already have around the house, I put together 15 no-cost fall prevention hacks.
One trade-off: these fixes mark a hazard but do not remove it. A badly uneven path still needs leveling, so treat tape, lights and strips as a first step. If your steps are the worry, non-slip stair nosing strips are an inexpensive place to start.
The Mailbox Trip and Garage Entry: Two Spots Most People Never Think to Check
These two locations rarely show up on safety checklists, and that’s exactly why they matter.
The mailbox approach: This is a habit trip. Done quickly, often without full attention, frequently in cold weather or light footwear. Walk that path slowly and look for:
- Uneven pavers or cracked concrete
- Soft ground or grass edges that shift in freeze-thaw cycles
- Any surface change you’ve learned to step around without thinking
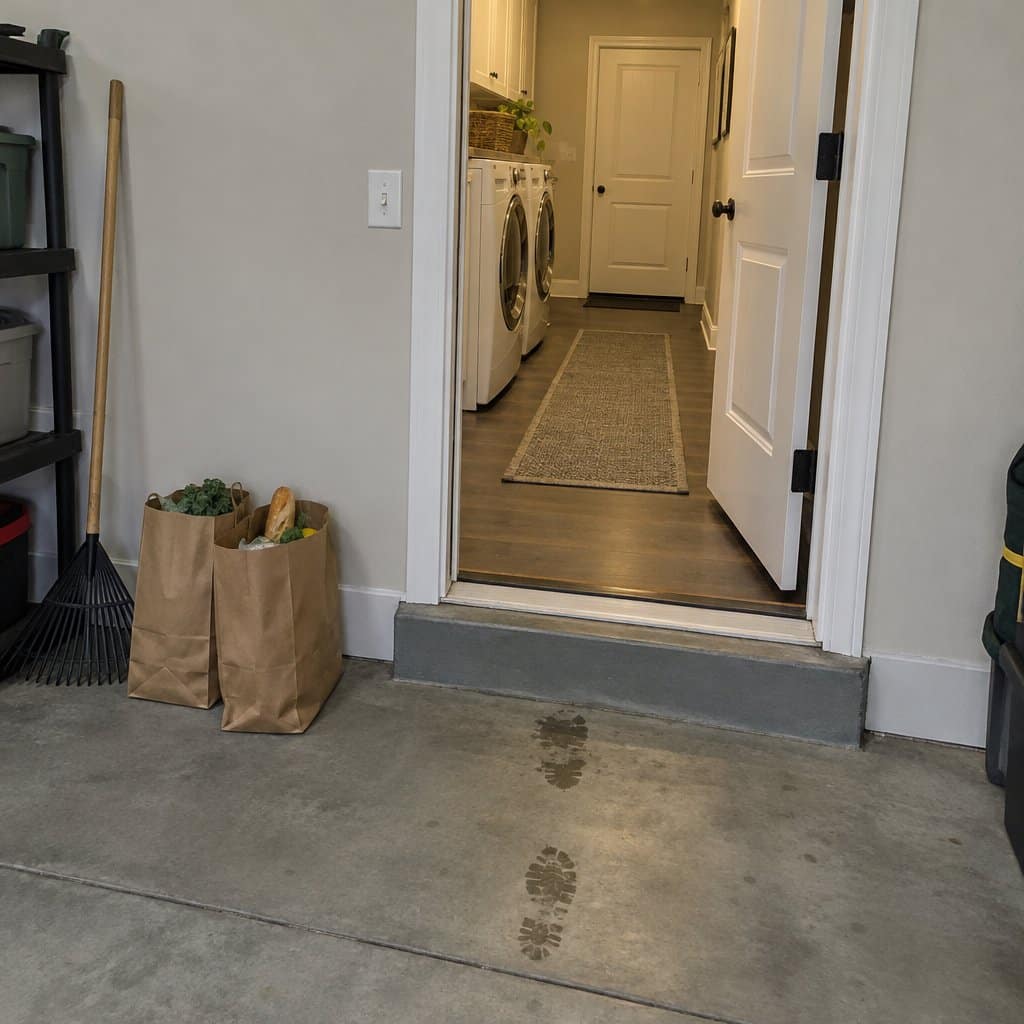
The garage-to-home threshold: Garage floors are often several inches lower than the interior floor, creating a raised lip at the step inside. This transition is used three or four times a day, often with arms full of groceries, and it’s so familiar it becomes invisible as a hazard.
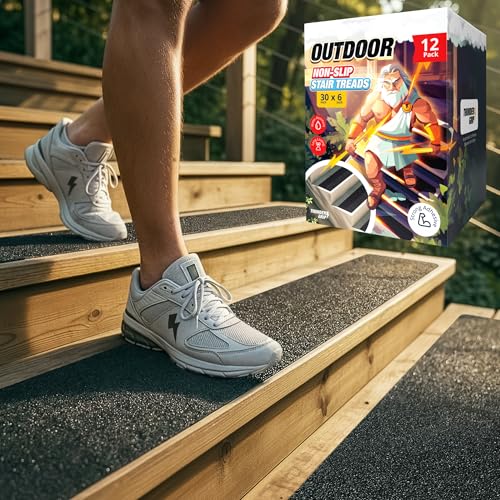
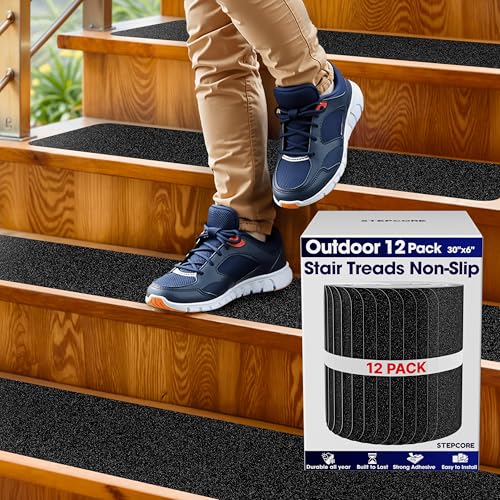
Check the step height and surface texture at your garage entry. If it’s smooth concrete with no grip, add outdoor non-slip stair treads before winter moisture arrives. A grit entry mat at the exterior garage door threshold adds a second layer of traction exactly where people track in water and debris.


If you are an adult child looking at a parent’s home, the 9-question checklist for assessing a parent’s living situation includes environmental factors that often get missed until they become urgent.
Garden Borders, Stepping Stones and Hoses in the Backyard
The front of the house gets most of the attention, but the backyard has its own toe-catchers. They tend to be small, and you pass them every day.
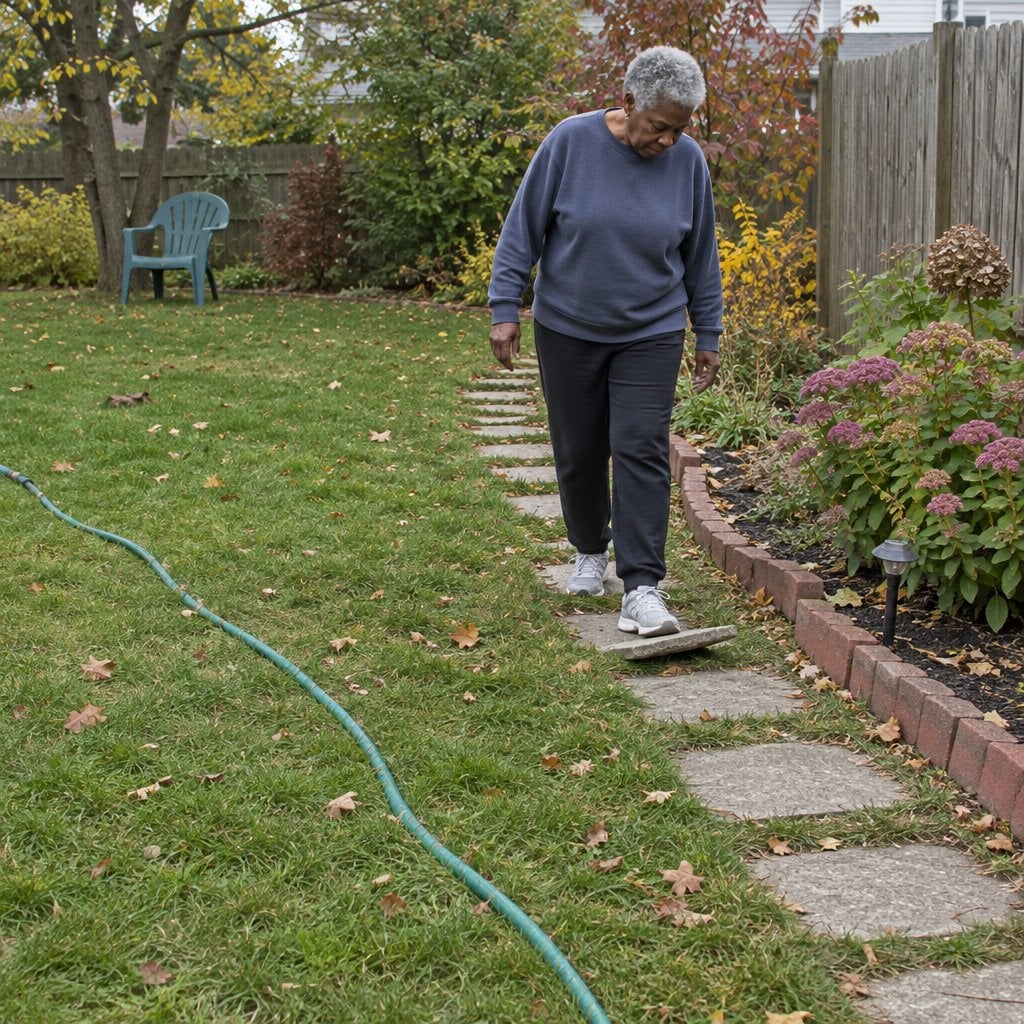
A decorative border between a flower bed and a walkway can make a 2-inch change in height. That is enough to catch a toe.
Stepping stones are another one. A path that looked inviting when it was laid can turn uneven over time, and the gaps get harder to judge.
Look at the places where one surface meets another. Patio to wooden deck, grass to gravel, or an outdoor rug on bare concrete can all throw off your stride.
Seasonal extras count too. Garden hoses stretched across a path, temporary decorations and newly planted areas can all get in your way. Outdoor furniture moved for company belongs on that list, so put it back where the path stays clear.
Make this a habit and not a one-time job. Walk your property each month looking for new hazards, weather damage and anything left in a walkway. Treat it as routine like checking the batteries in your smoke detectors.
One trade-off: you have to keep at it. Hoses get dragged out again and furniture gets moved, so a path that is clear today may not be clear next month.
Before the First Freeze: What to Store, Stage, and Stockpile for a Safer Winter
The safest time to prepare for winter exterior hazards is right now, not the morning after the first ice event.
Stage ice melt at every exterior door: Storing a container near each door means it’s accessible without hunting for it in a rush. Pet-safe ice melt products formulated for residential walkways work on concrete, pavers, and asphalt without the corrosive damage of standard rock salt. If your concrete is fairly new, or you want something extra for your own footing, see our guide to concrete-safe de-icers and ice cleats.
Deploy grit entry mats at every threshold: A high-traction mat at each exterior entry creates a transition zone that catches moisture and debris before it becomes a slip surface, whether inside or out.
Clear seasonal clutter from walkways: Coiled hoses left near paths, lawn chairs close to entry areas, and decorative items near doors all become hidden trip hazards once obscured by fallen leaves or a light dusting of snow. Store them before the first freeze.
Do a perimeter walk with fresh eyes: Ask yourself: “Would I spot this at dusk, in the rain, or under a thin layer of snow?” That’s the standard that matters in winter.
Home Exterior Fall Audit Checklist: 10 Spots Before Winter
Download this printable 10-spot home exterior checklist to identify fall hazards around your property in just 20 minutes, so you can make simple fixes now and age safely at home all winter long.
Monthly Checks, Family Help and a Plan for Working Outside Alone
A one-time walkthrough is a good start. A monthly habit keeps it working, because weather damage and new obstacles show up between audits.
Walk your property once a month looking for new hazards, storm damage and anything left in a walkway. Make it as routine as checking your smoke detector batteries.
Family can help with this. Adult children can spot hazards that have become invisible to the person who sees them daily, and you can tell them about problem spots and seasonal trouble. The goal is working together, not being watched over.
A visit is a natural time to walk the yard together. Check that outdoor furniture is not blocking a path, and look at each step with the stair safety guide in mind. If you host outdoor gatherings, my seasonal safety tips point out hazards that are easy to miss.
When you work outside, carry a fully charged phone. Let someone know you are out there alone, and have a plan for getting help if you do fall.
Simple daily balance exercises can also build your stability and confidence. For ideas that use things already in your house, see these 15 no-cost fall prevention hacks.
Some jobs are bigger than a family afternoon. An occupational therapist can assess your specific mobility needs, a contractor can fix major surface problems, and local senior centers often offer safety assessments.
One trade-off: these habits only help if you keep them up. A phone left on the kitchen counter or a skipped monthly walk leaves the same gaps as before.
Your 20-Minute Audit Keeps You in Control
A complete home exterior safety audit doesn’t require a contractor, a full weekend, or a professional eye.
It requires 20 minutes, a willingness to look at familiar spaces carefully, and a short list of affordable fixes. You can handle most of them yourself, or ask a family member to help in an afternoon.
Whether you’re doing this audit for yourself or walking through it with a parent, finishing it means you’ve done something genuinely protective. That’s not overreacting. It’s living wisely and staying in control of your surroundings.
Do the walkthrough this week while conditions still allow easy fixes. And if you want to take the next step on fall prevention beyond the exterior, this guide on what to do immediately after a senior falls is a practical read, because preparation includes knowing what to do if something does happen.
Which spot surprised you most when you walked through? Share it in the comments, or send this to an adult child who should see it before winter arrives.